Learn to use the most powerful AI coding tool on the planet - even if you have never written a line of code. 6 modules. Step-by-step lessons. Go from total beginner to AI power user.
Follow these steps in order. Each one takes just a few minutes. No coding experience needed.
Step 01
Download the Claude Desktop App
First, you need the Claude app on your computer. This is the foundation for everything.
Go to claude.ai/download in your web browser
Click the download button for your computer (Mac or Windows)
Open the downloaded file and drag it to your Applications folder (Mac) or run the installer (Windows)
Open the Claude app from your Applications
Create a free account or sign in with Google
This is the regular Claude desktop app - think of it as your AI assistant that can see your screen and help you with tasks. You will use this to get comfortable with Claude before moving on.
Step 02
Get a Claude Pro Subscription
To unlock Claude Code (the powerful command-line version), you need a Pro plan.
Open the Claude Desktop app or go to claude.ai
Click your profile icon in the bottom-left corner
Click "Upgrade to Pro" - it costs $20/month
Enter your payment details and confirm
The Pro plan gives you access to Claude Code (the command-line tool), plus more messages and the most powerful models. This unlocks everything in your training.
Step 03
Open Your Terminal
The Terminal is a text-based way to talk to your computer. Don't worry - we'll walk you through it.
On Mac:
Press Command + Space on your keyboard (this opens Spotlight search)
Type Terminal
Press Enter to open it
You will see a window with a blinking cursor - that's it!
On Windows:
Press the Windows key on your keyboard
Type PowerShell
Click Windows PowerShell to open it
The Terminal might look intimidating, but it is just a way to type commands to your computer instead of clicking buttons. Think of it like texting your computer instead of pointing at things.
Step 04
Install Node.js (Optional)
Good news: the new Claude Code installer (next step) does NOT require Node.js. You only need Node.js if you want the npm fallback install, or for some of the later modules in this course. Beginners can skip this for now and come back later - it will not block you.
Go to nodejs.org in your web browser
Click the big green button that says "LTS" (this stands for Long Term Support - it is the stable version)
Open the downloaded file and follow the installer steps (just keep clicking Next/Continue)
Once installed, go back to your Terminal and type this command, then press Enter:
node --version
If you see a number like "v20.11.0" appear, Node.js is installed correctly. Again - this step is optional. Skip it if you just want to get going, and the official installer in Step 05 will handle everything for you.
Step 05
Install Claude Code
Now for the exciting part - installing the actual tool. The official installer is the recommended way: it sets up everything for you, and you do NOT need Node.js. Pick the line for your computer, paste it into your Terminal, and press Enter:
The command above is the official installer for Mac and Linux - recommended for most people.
On a Mac with Homebrew, you can instead run brew install --cask claude-code
On Windows, open PowerShell and run irm https://claude.ai/install.ps1 | iex
curl -fsSL https://claude.ai/install.sh | bash
Wait for it to finish (you will see some text scrolling). When you see your cursor blinking again, it is done.
Fallback (any OS that already has Node.js): npm install -g @anthropic-ai/claude-code. The npm method still works, but Anthropic no longer recommends it as the primary way to install - use the official installer above instead.
Step 06
Launch Claude Code and Log In
Type this in your Terminal and press Enter:
Claude Code will start and ask you to log in
It will open a browser window - sign in with the same account you used for Claude Pro
Come back to your Terminal - you should see Claude Code ready and waiting
Type hello, what can you do? and press Enter
Claude will respond - you are now using Claude Code.
claude
Claude Code is different from the regular Claude app. It can read your files, write code, run commands, and build entire projects. You are about to learn how to wield this power.
02
Your Learning Roadmap
Complete each module in order to build your skills step by step
1
How to Begin
Your first prompts, the six-component prompt skill (most important in the course), how Claude thinks, navigating the interface
40 min
2
Foundation
CLAUDE.md files, memory systems, custom skills, hooks, and MCP servers
1 hour
3
Creator Powers
Image generation, voice synthesis, video pipelines, social media automation
Vector databases, production pipelines, selling AI services, custom skills
3 hours
MODULE 1
Module 1
How to Begin
⏱️ 40 minutes📊 Beginner friendly📚 5 lessons
Your first steps with Claude Code. Learn how to talk to it, understand its memory, and navigate the interface like a pro. The six-component prompt skill below is the single highest-leverage thing you will learn in this entire course — do not skip it.
First promptsThe 6-component promptContext windowsCLI navigationSession management
Click play to listen
0:000:00
📥
Beginner50 XP5 min
Verify Your Install & Launch
Fox was eager to start building, but Turtle stopped him.
🦊FOX & TURTLE STORY🐢
Fox was eager to start building, but Turtle stopped him. "First, you need the right tools," Turtle said, pulling out a golden hammer. "Without the right setup, even the best builder creates crooked walls." Fox installed his tools carefully, and everything he built after that stood strong.
Step by Step
You already installed Claude Code back in Getting Started. This lesson just confirms it works and gets you into your first session.
Open your Terminal (on Mac: press Command+Space, type "Terminal", press Enter)
Confirm the install by typing: claude --version - you should see a version number (like 1.x.x)
Launch a session by typing: claude and pressing Enter
A browser window opens - log in with the same account you used for Claude Pro
Back in your Terminal, Claude Code is ready and waiting. You are in.
If "claude --version" shows an error, the command was not found - revisit the install steps in Getting Started above. The most common fix is to close your Terminal completely and reopen it so it picks up the newly installed command.
Fox tried asking Turtle a vague question: "Fix everything!" Turtle blinked slowly.
🦊FOX & TURTLE STORY🐢
Fox tried asking Turtle a vague question: "Fix everything!" Turtle blinked slowly. "Fix what, exactly?" Fox realized that the clearer he was, the better Turtle could help. "Fix the leaky roof on the north side of the den," Fox said. Turtle smiled and got right to work.
Step by Step
Open Terminal and type "claude" to start a session
Try a simple prompt: "What can you help me with?"
Try a specific prompt: "Create a simple Python script that says hello"
Notice how specific prompts get better results than vague ones
Try: "Read all the files in this folder and explain what they do"
When you are done, type /exit to end the session
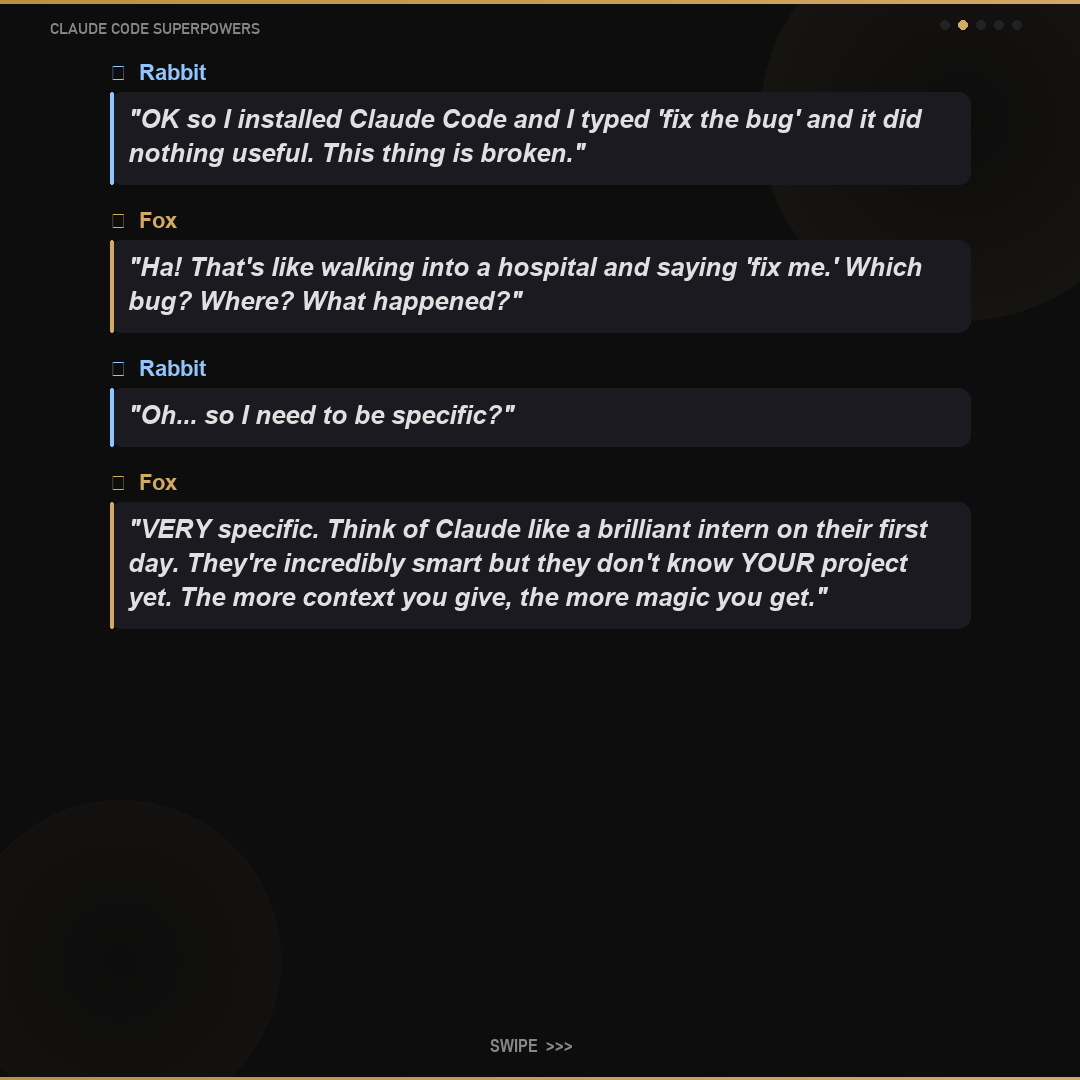
Be specific about what you want. "Fix the bug" is weak. "Fix the login timeout error in auth.js on line 42" is powerful. The more detail you give, the better the result.
claude
🎯
Beginner150 XP15 min
The Six-Component Prompt (the most important skill in this whole course)
Fox kept asking Turtle for help and getting answers that felt almost right but never quite.
🦊FOX & TURTLE STORY🐢
Fox kept asking Turtle for help and getting answers that felt almost right but never quite. "I do not understand," Fox grumbled. "I tell you what I want and you give me something else." Turtle nodded slowly. "Tell me again — but this time tell me who I am, what I already know, the steps you want me to take, what good looks like, what you are giving me, and the shape you want the answer in." Fox tried it. Turtle gave him exactly what he needed. "There are six pieces," Turtle said. "Most people forget at least three. The ones who remember all six get great answers on the first try."
Step by Step
Component 1 — Role: tell Claude who it is in one sentence. "You are a copywriter helping me with a landing page."
Component 2 — Background: anything specific to your situation it cannot guess. The brand, the audience, what you tried before.
Component 3 — Steps: a numbered list of what you want Claude to do, in order. Not "make it better" — specific actions.
Component 4 — Example: paste an example of the kind of output you want. Even one fake example massively improves results.
Component 5 — Input: the actual stuff to work on. If it is long, put it near the top of your message, not the bottom.
Component 6 — Output format: the shape of the answer. "Reply as a numbered list." "Two columns: pros and cons." Without this you get whatever shape Claude picks.
When an answer disappoints you, do not start over — figure out which of the six components was missing. Ninety percent of the time, the fix is "I forgot to give it an example" or "I never specified the output format." Add the missing piece and re-run. The team that built Claude showed an example where it took FIVE versions of the same prompt before it gave the right answer. Iteration is the work; perfect first drafts are not the goal.
claude
🧠
Beginner75 XP10 min
Understanding Context Windows
Turtle showed Fox a desk.
🦊FOX & TURTLE STORY🐢
Turtle showed Fox a desk. "Everything you tell me goes on this desk," Turtle explained. "But the desk has a size limit. Once it is full, the oldest papers fall off the edge." Fox learned to keep his instructions clear and concise, so the important papers stayed on the desk longer.
Step by Step
Understand that "context" means everything Claude can see at once in a conversation
Think of it like a desk - Claude can only see what is currently on the desk
The desk holds about 200,000 tokens (roughly 150,000 words)
When the desk fills up, earlier parts of your conversation get forgotten
Type /context inside a session to see your ACTUAL token usage right now - how full the desk really is
Be concise to save space, and use /clear to wipe the desk clean when things get cluttered
If Claude starts forgetting things you told it earlier, your context is filling up. Type /context to check how full the desk is, or /clear to reset it. This is totally normal.
/context
🖥️
Beginner75 XP10 min
Navigate the CLI
Fox jumped into the cockpit and grabbed the steering wheel.
🦊FOX & TURTLE STORY🐢
Fox jumped into the cockpit and grabbed the steering wheel. "Wait!" Turtle called out. "Do you know what all these buttons do?" Fox sheepishly admitted he only knew the gas pedal. "Learn the controls first," Turtle said. "Then you can fly anywhere."
Step by Step
Type /help inside a Claude session to see all available commands
Try /model to see which AI model you are using
Try /clear to reset the conversation
From Terminal (outside Claude), try: claude --help to see all startup options
Try: claude -p "what is 2+2" for a quick one-shot question (no session needed)
Try: claude --continue to resume your last conversation where you left off
The most useful commands to memorize: /clear (reset context), /help (see options), and /exit (leave). You can always type /help if you forget.
claude --help
MODULE 2
Module 2
Foundation
⏱️ 1 hour📊 Beginner to Intermediate📚 5 lessons
Build the systems that make Claude remember you, follow your rules, and work the way you want - every single time.
Every morning, Fox had to re-explain everything to Turtle.
🦊FOX & TURTLE STORY🐢
Every morning, Fox had to re-explain everything to Turtle. "I like my coffee black, I work from the oak tree, my tools are in the burrow..." One day, Turtle handed Fox a notebook. "Write it all down here. I will read it every morning." Fox wrote his rules once, and Turtle remembered them forever.
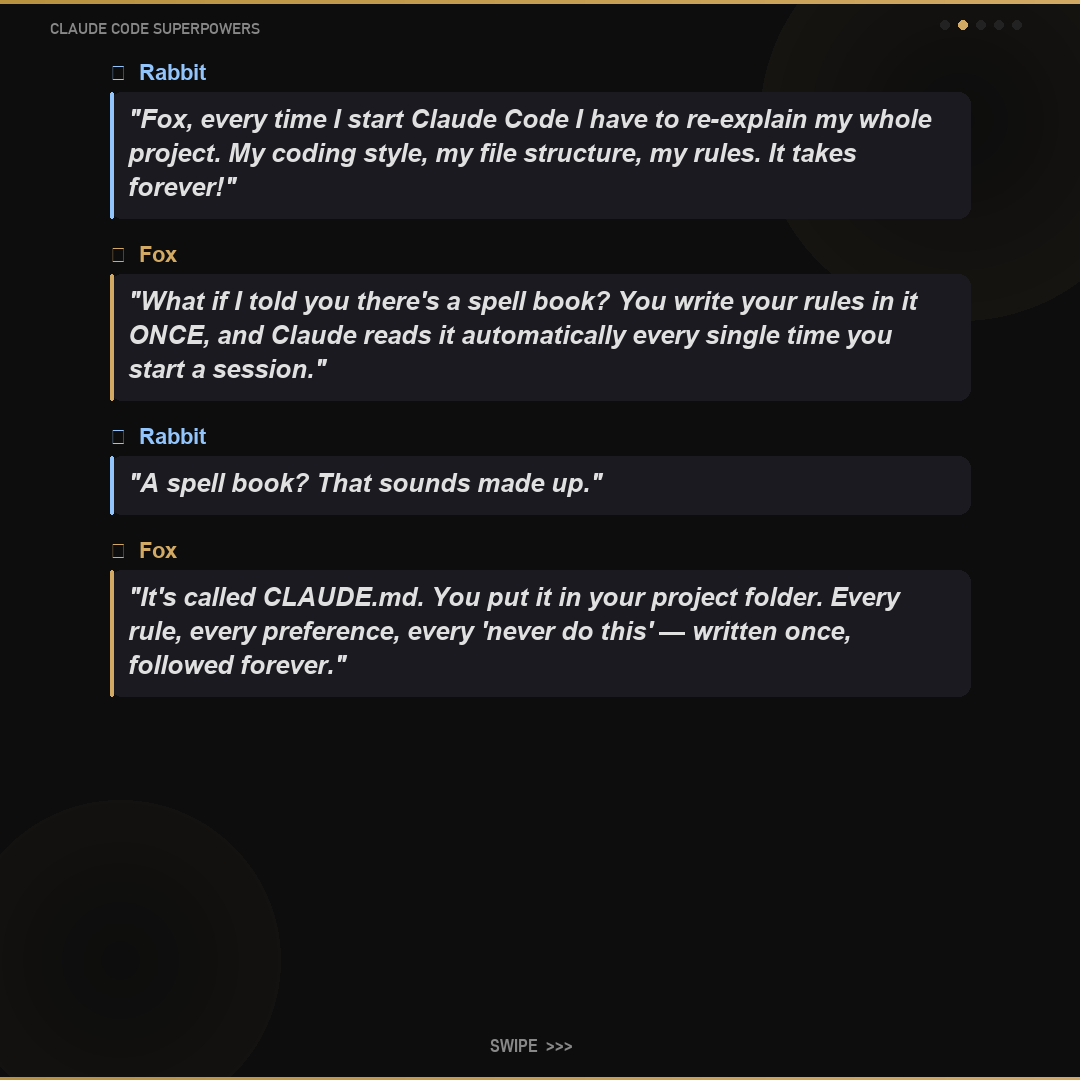
Step by Step
Open your project folder in Terminal (use "cd" followed by the folder path)
Create a file called CLAUDE.md by typing: touch CLAUDE.md
Open CLAUDE.md in any text editor and write your project rules
Include things like: what this project does, coding style preferences, important files
Start a Claude session with "claude" - it automatically reads CLAUDE.md
Claude now follows your rules every time you start a session in this folder
Keep CLAUDE.md under 500 lines. If you need more detail, create separate files and reference them from CLAUDE.md. Think of it as a table of contents, not an encyclopedia.
touch CLAUDE.md && claude
🧠
Intermediate150 XP20 min
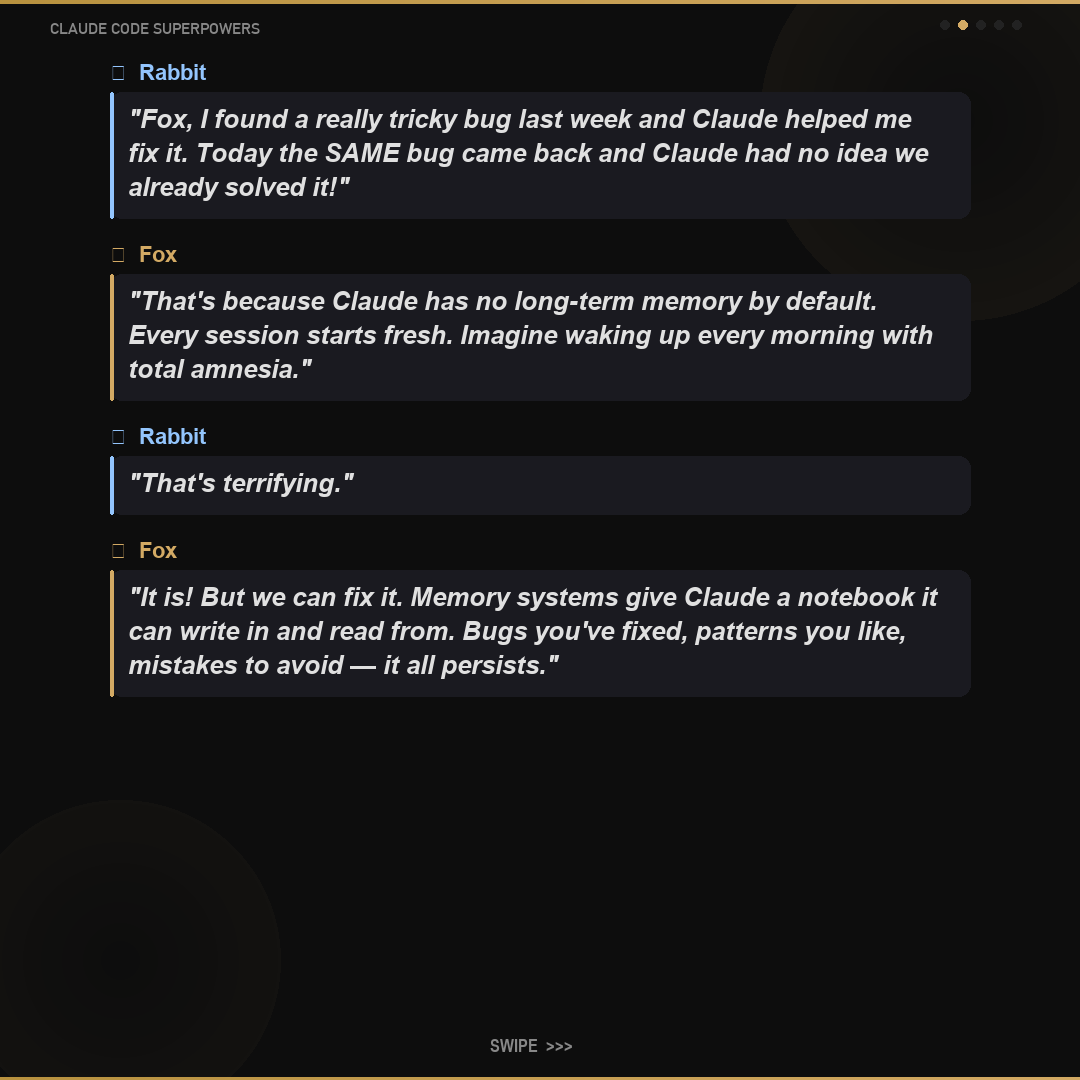
Memory Systems
Fox noticed something troubling: every time he started a new conversation, Turtle forgot everything from the last one.
🦊FOX & TURTLE STORY🐢
Fox noticed something troubling: every time he started a new conversation, Turtle forgot everything from the last one. "I need a filing cabinet," Turtle suggested. They built one together - with folders for bugs, patterns, and important decisions. Now Turtle could look things up from any past conversation.
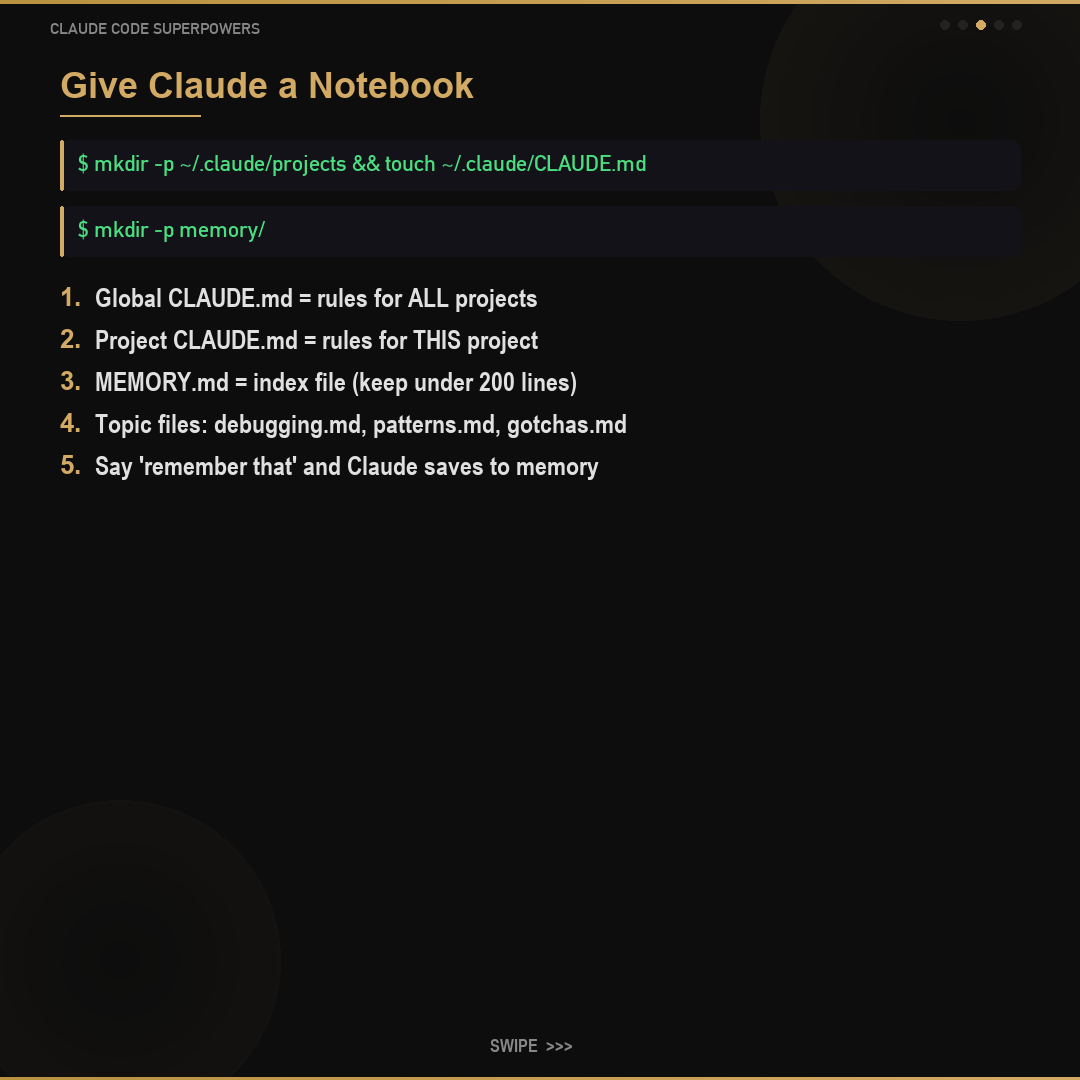
Step by Step
Create a global instructions file: touch ~/.claude/CLAUDE.md
This file loads for EVERY project - put your universal preferences here
Create a memory folder in your project: mkdir -p memory
Create a MEMORY.md index file that points to topic files
Tell Claude "remember that..." and it will save things to your memory files
The first 200 lines of MEMORY.md load automatically. Keep it as an index with pointers like "See debugging.md for bug solutions." Details go in the topic files.
Fox asked Turtle to make pasta for the third time that week, explaining the recipe each time.
🦊FOX & TURTLE STORY🐢
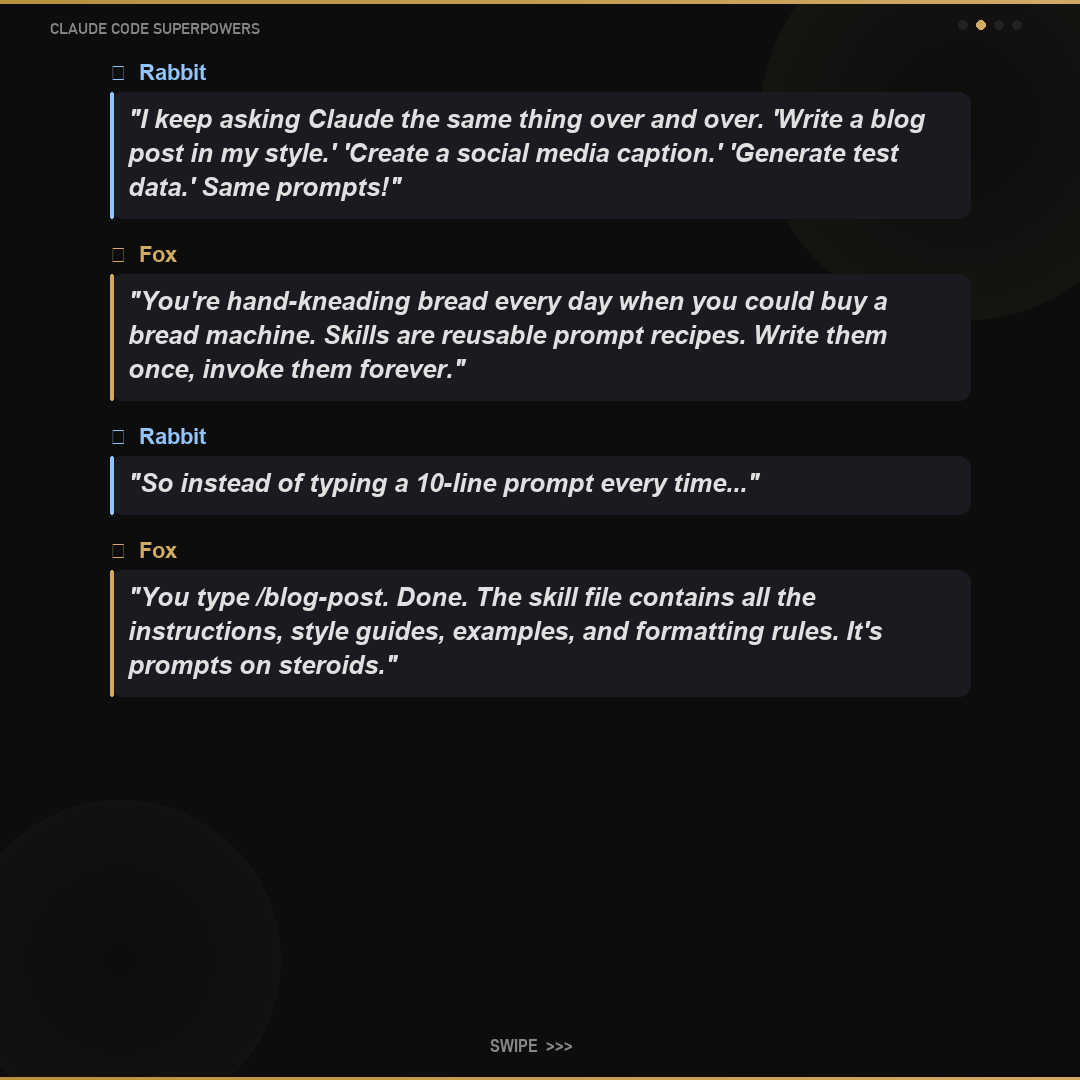
Fox asked Turtle to make pasta for the third time that week, explaining the recipe each time. "Why don't we write the recipe on a card?" Turtle suggested. Now Fox just says "make pasta" and Turtle follows the card perfectly. Skills are recipe cards for Claude.
Step by Step
Create a skills folder: mkdir -p ~/.claude/skills
Create a markdown file for your skill: my-skill.md
Write instructions for what the skill should do
Include trigger conditions ("use this when the user asks about...")
Start a Claude session - your skill appears as a slash command
Type /my-skill to invoke it anytime
Name your skill files descriptively. The filename becomes the slash command name. Start with a simple skill like a code review checklist.
mkdir -p ~/.claude/skills && claude
🪝
Intermediate150 XP15 min
Hooks & Automation
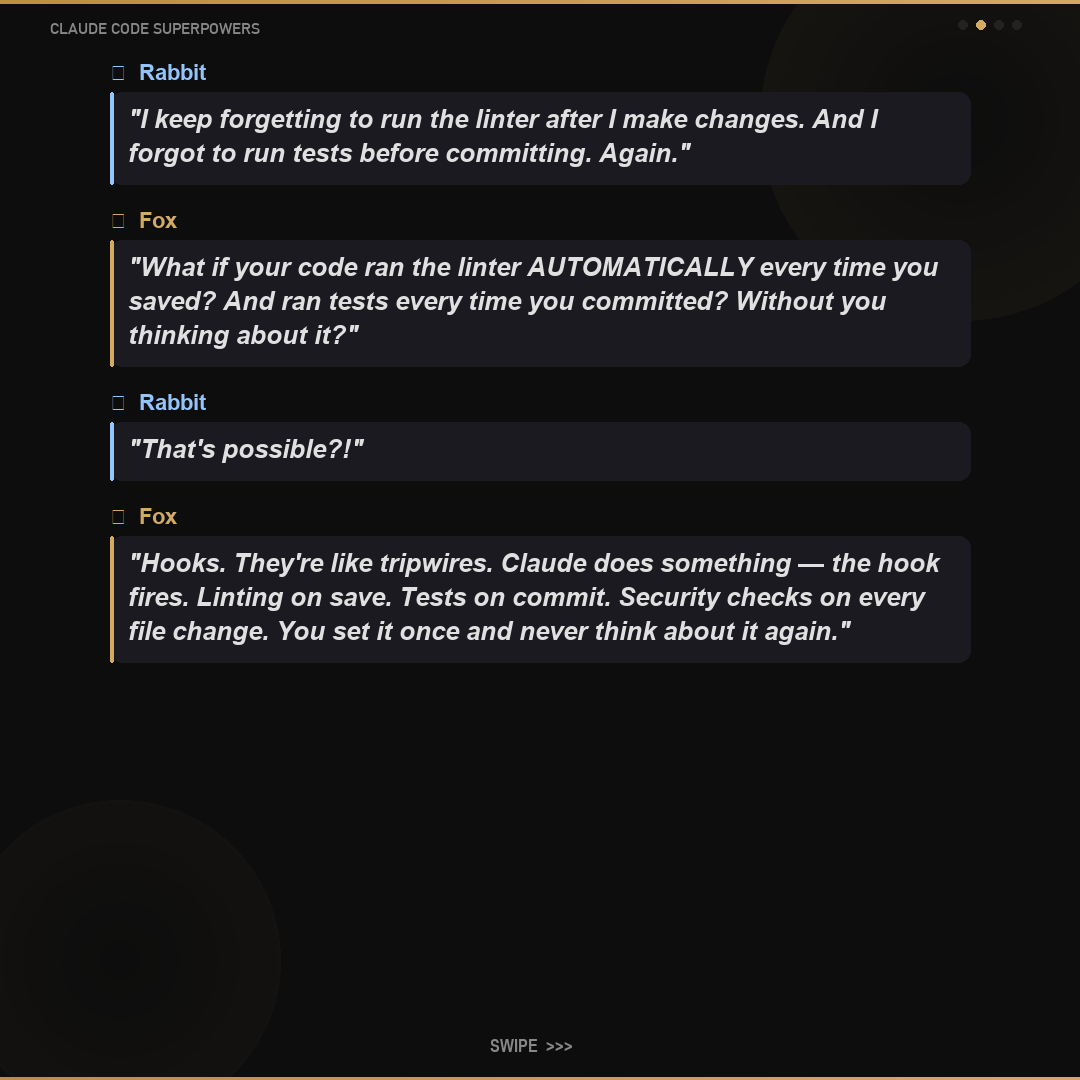
Fox kept forgetting to lock the door when he left.
🦊FOX & TURTLE STORY🐢
Fox kept forgetting to lock the door when he left. Turtle installed a sensor: every time the door opened, it automatically locked behind Fox. "That is a hook," Turtle explained. "It watches for an event, and runs an action automatically." Fox never forgot to lock the door again.
Step by Step
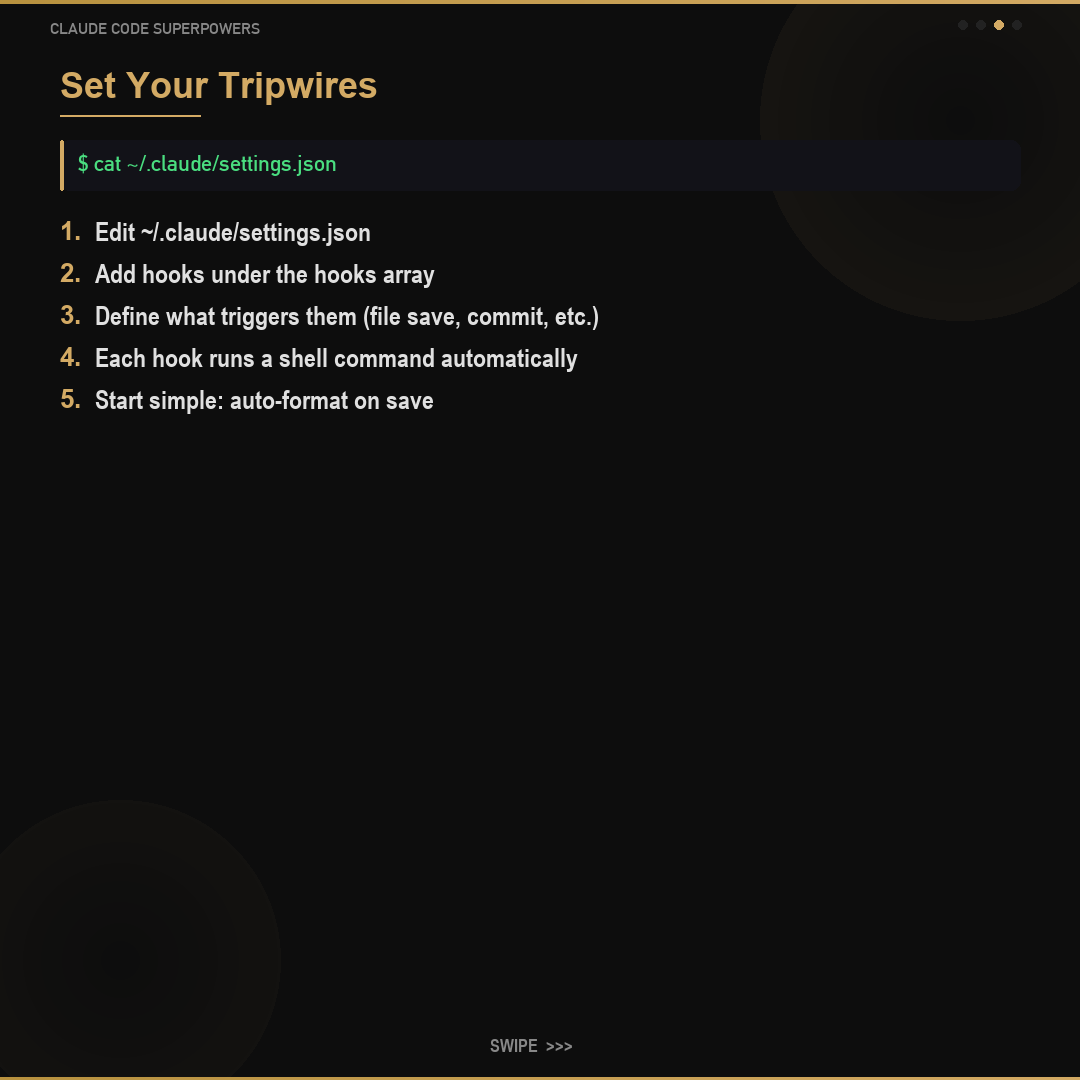
Open (or create) the file: ~/.claude/settings.json
Add a "hooks" section to define automatic actions
Hooks trigger before or after Claude runs certain commands
Example: auto-format code every time a file is saved
Example: run tests automatically after code changes
Hooks run shell commands - anything your Terminal can do, a hook can do
Start simple. Set up one hook (like auto-formatting) and make sure it works before adding more. Complex hooks can slow things down.
cat ~/.claude/settings.json
🔌
Advanced200 XP20 min
MCP Servers
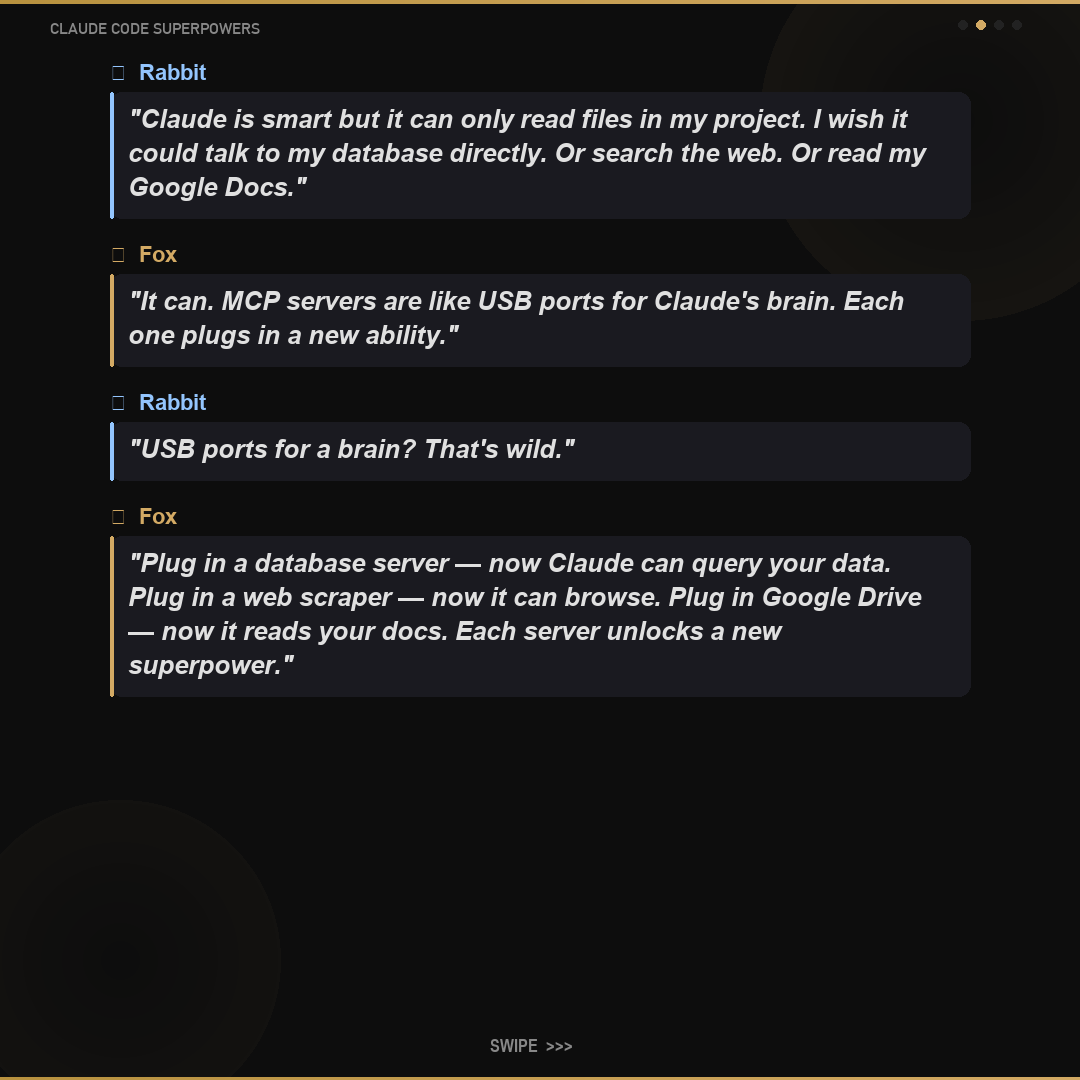
Turtle could do amazing things, but only with what was in the room.
🦊FOX & TURTLE STORY🐢
Turtle could do amazing things, but only with what was in the room. Fox brought in a cable and plugged Turtle into the outside world. "Now I can see your database, your files, the web - everything!" Turtle exclaimed. MCP is that cable.
Step by Step
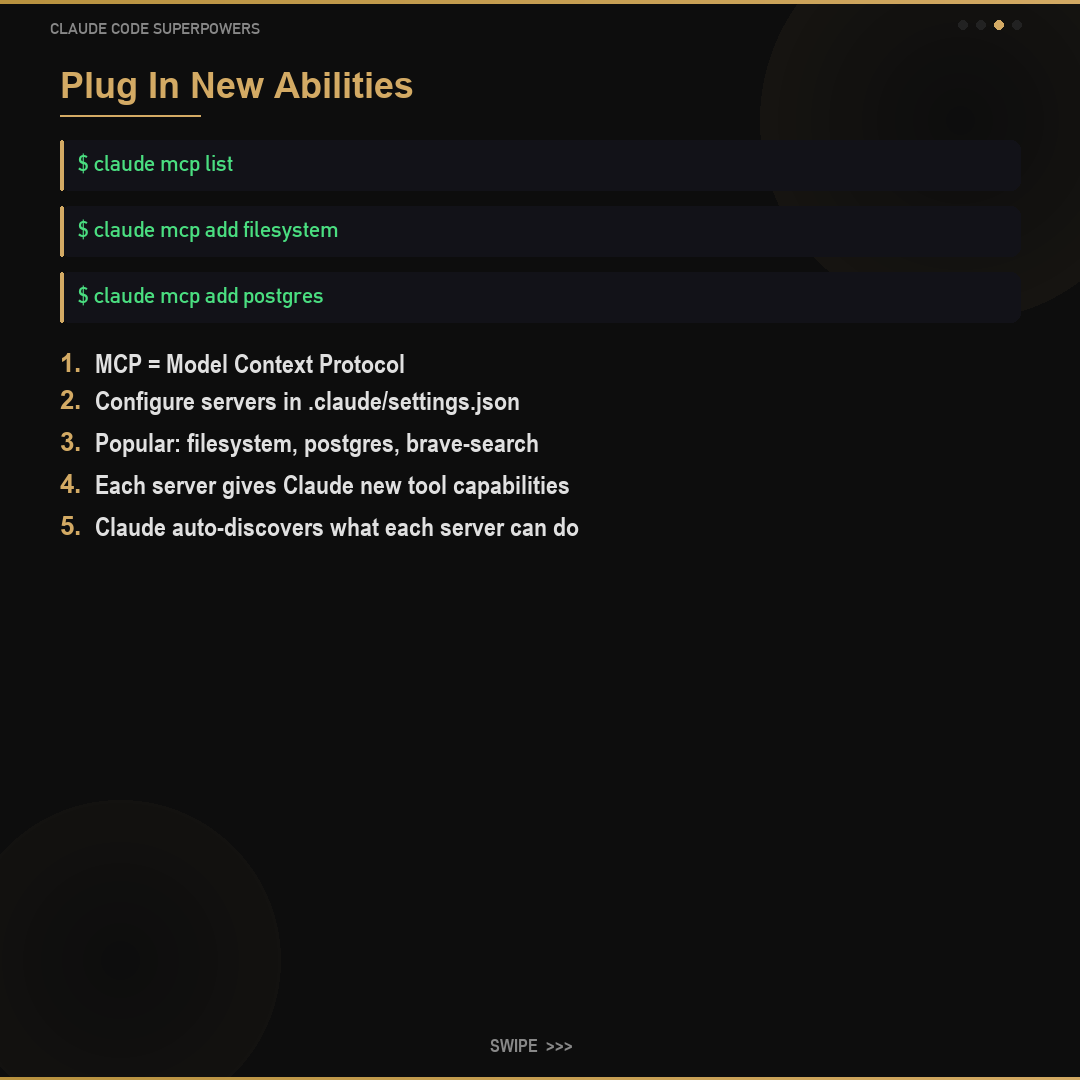
MCP stands for Model Context Protocol - it connects Claude to outside tools
Type "claude mcp list" to see currently connected servers
Use "claude mcp add" to register a new server
Popular MCP servers: filesystem (files), postgres (databases), brave-search (web)
Each server gives Claude new abilities it did not have before
Configure servers in your .claude/settings.json file
Start with the filesystem MCP server - it lets Claude read and write files outside your current project folder. Add more servers as you need new capabilities.
claude mcp list
MODULE 3
Module 3
Creator Powers
⏱️ 2 hours📊 Intermediate📚 6 lessons
Create images, generate voices, build video pipelines, and automate your entire content creation workflow.
AI image generationVoice synthesisVideo pipelinesContent automationSocial media
Click play to listen
0:000:00
🍌
Intermediate200 XP15 min
Nano Banana Image Gen
Fox wanted a portrait of himself but could not draw.
🦊FOX & TURTLE STORY🐢
Fox wanted a portrait of himself but could not draw. Turtle handed him a magic paintbrush. "Just describe what you want to see," Turtle said. Fox whispered "a majestic golden fox under a starlit sky" and the canvas painted itself. That is the power of AI image generation.
Step by Step
Install the Nano Banana skill in your Claude skills folder
Start a Claude session and type: /nano-banana-2-skill "your description here"
Be descriptive: "a photorealistic golden fox, cinematic lighting, 4K" works better than "fox"
Choose resolution: 0.5K (fast) to 4K (detailed)
Edit existing images with the --input-image flag
14 different aspect ratios available (square, portrait, landscape, etc.)
The more descriptive your prompt, the better the image. Always include style, lighting, and quality keywords. Add "no text, no watermarks" to keep images clean.
/nano-banana-2-skill "a golden fox mascot"
🎤
Intermediate275 XP20 min
Add a Voice (Free or Premium)
Fox wrote the perfect story but had no voice to tell it.
🦊FOX & TURTLE STORY🐢
Fox wrote the perfect story but had no voice to tell it. Turtle plugged in a microphone and said, "Speak your words into this, and I will give them any voice you choose." Fox typed his story, picked a deep narrator voice, and suddenly his words came alive as a professional voiceover.
Step by Step
FREE DEFAULT - Edge TTS: install it with pip install edge-tts (300+ voices, 75+ languages, no API key, no cost)
List the voices with: edge-tts --list-voices, then generate audio: edge-tts --text "Hello world" --write-media output.mp3
Pick a voice with --voice, e.g. "en-US-GuyNeural" (professional male) or "en-US-JennyNeural" (professional female)
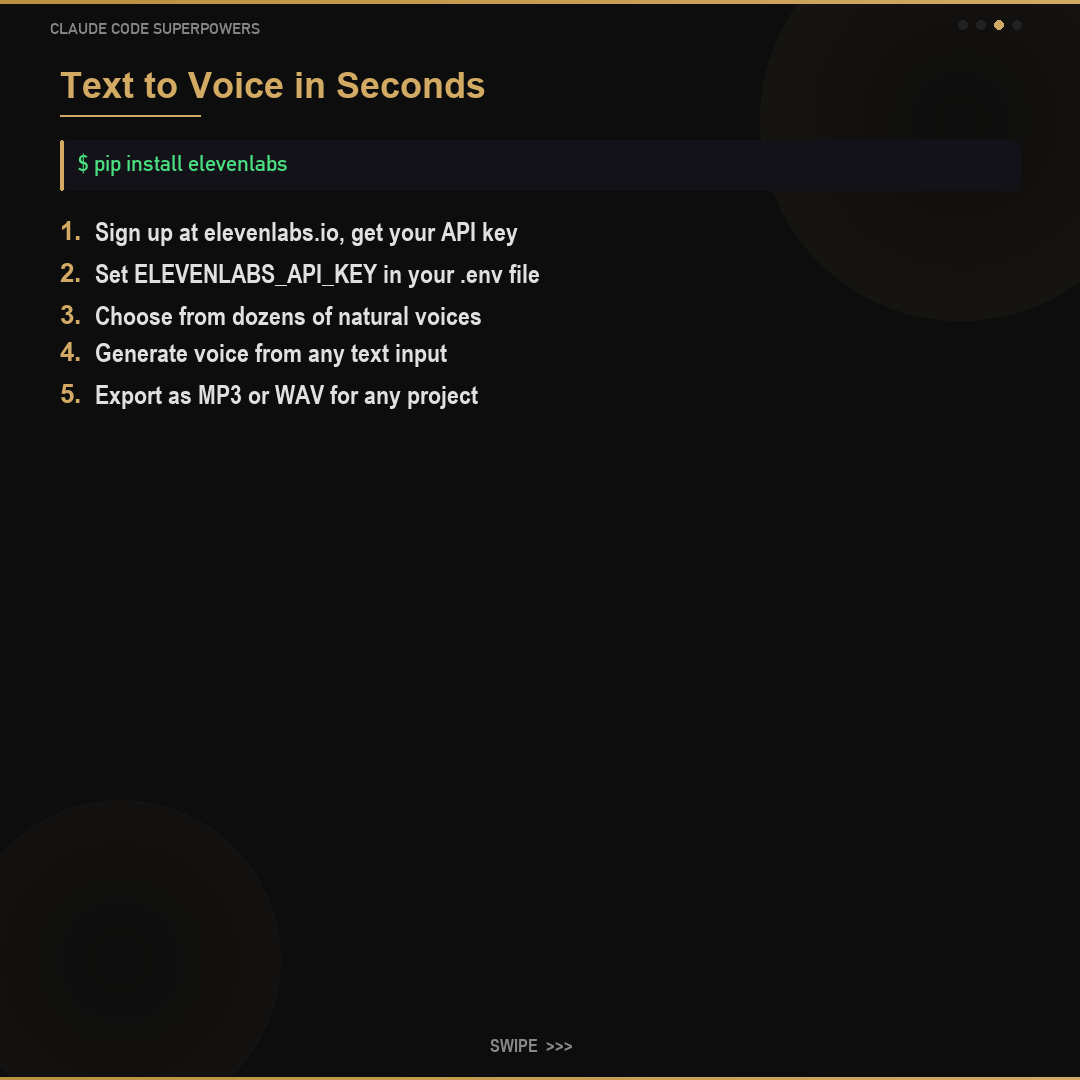
PREMIUM UPGRADE - ElevenLabs: install it with pip install elevenlabs and put your key in a .env file: ELEVENLABS_API_KEY=your_key_here
Use Claude to write a script that converts text to speech with dozens of natural, studio-grade voices; export as MP3 or WAV
Choose the ElevenLabs model: "turbo" for fast, cheap generation, or "multilingual_v2" for non-English content and the highest quality
Start free with Edge TTS - "en-US-GuyNeural" and "en-US-JennyNeural" sound remarkably natural for $0. Upgrade to ElevenLabs only when you need the absolute best: "turbo" for speed, "multilingual_v2" for non-English or top quality.
pip install edge-tts
🎬
Advanced250 XP30 min
Video Pipeline
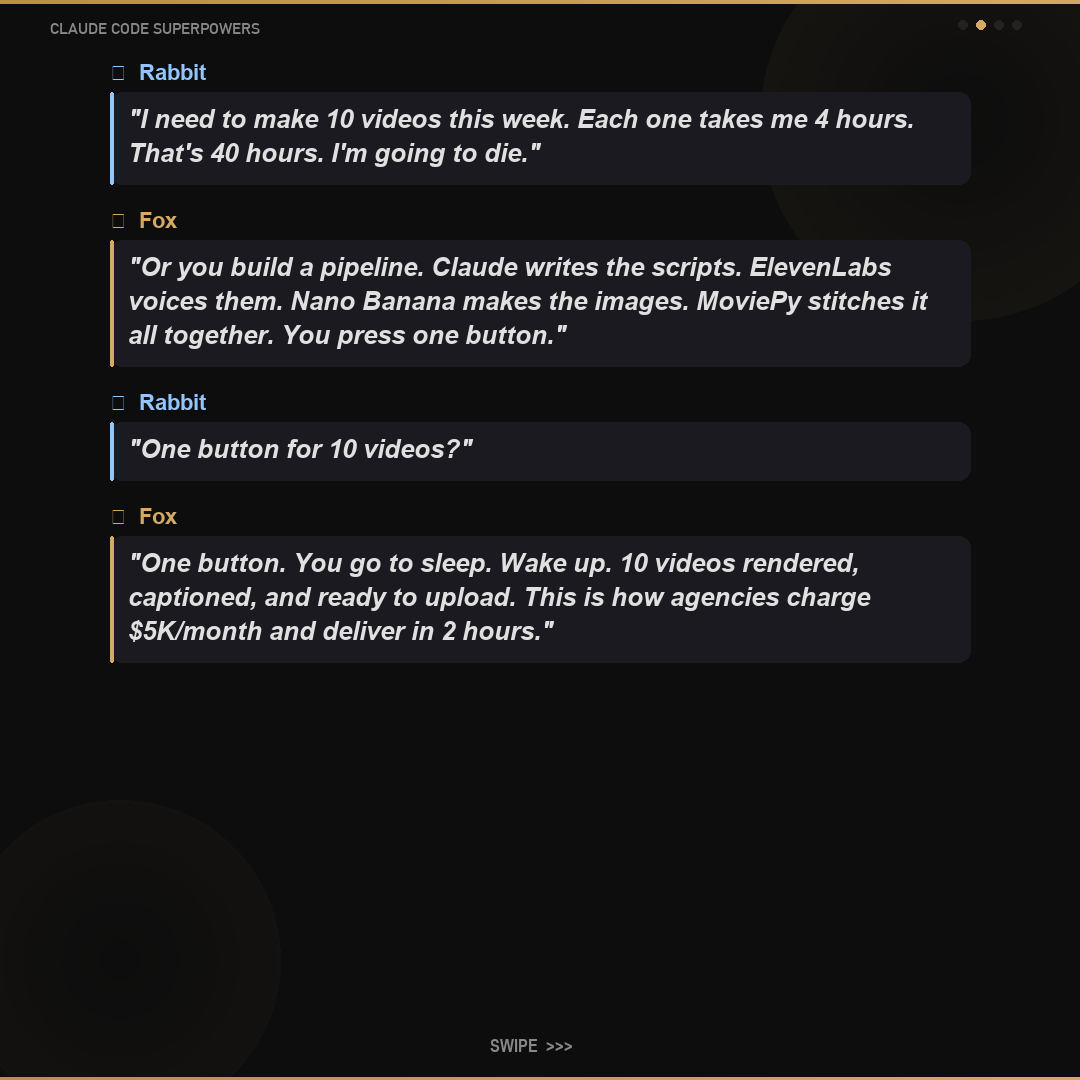
Fox watched humans spend 4 hours making one video.
🦊FOX & TURTLE STORY🐢
Fox watched humans spend 4 hours making one video. "What if we could make 10 videos while we sleep?" Fox wondered aloud. Turtle laid out a plan: script, voice, images, captions, render. "Automate each step," Turtle said, "and the pipeline runs itself." By morning, 10 videos were ready.
Step by Step
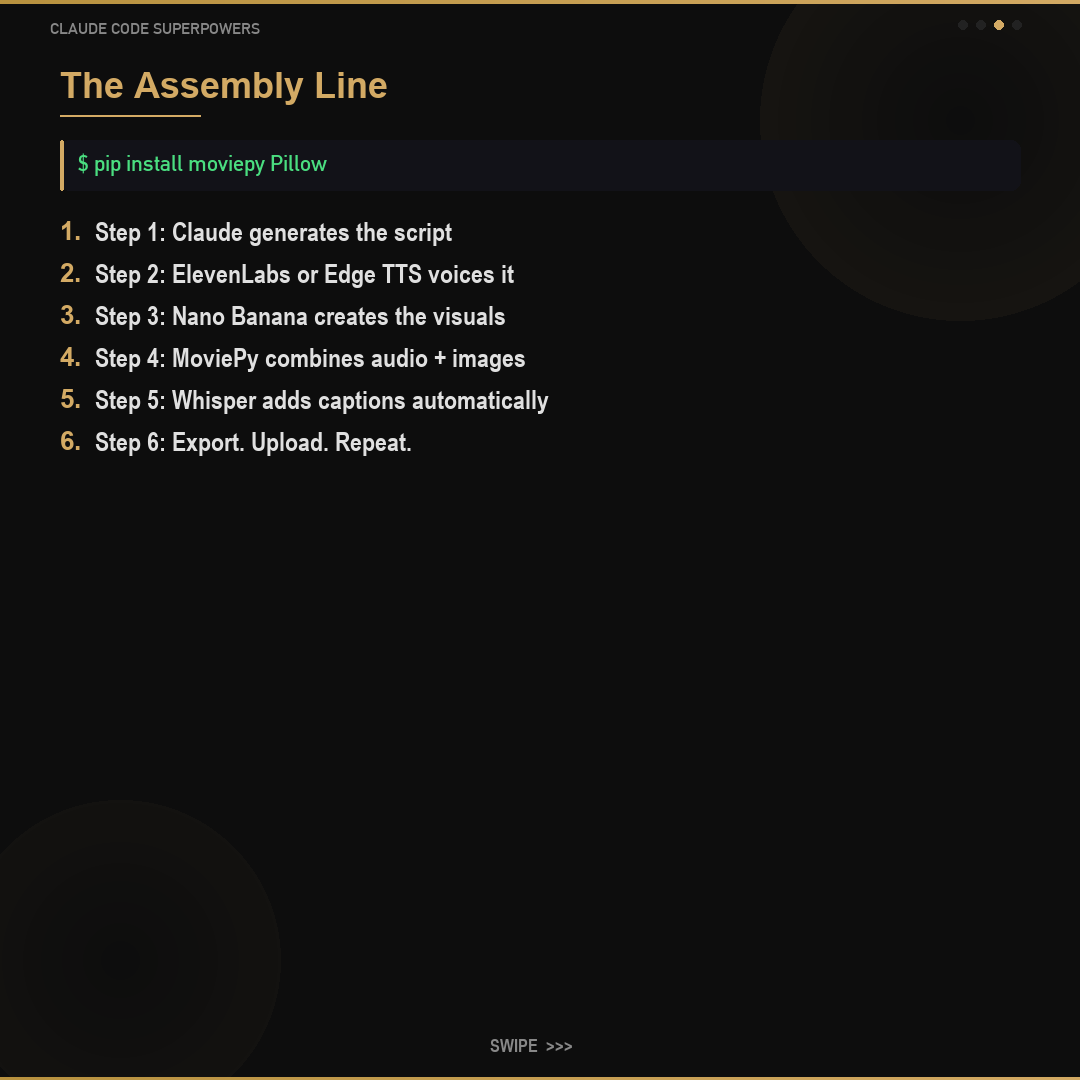
Step 1: Use Claude to write the video script
Step 2: Generate voiceover with ElevenLabs or Edge TTS
Step 3: Create images with Nano Banana for each scene
Step 4: Combine everything with moviepy or ffmpeg
Step 5: Add captions using Whisper transcription
Step 6: Render and export automatically - walk away and let it work
Start with the simplest possible video: text on screen + voiceover. Get that working first, then add images, transitions, and captions layer by layer.
pip install moviepy Pillow
📺
Beginner100 XP10 min
YouTube Transcription
Fox found a goldmine - thousands of YouTube videos full of wisdom.
🦊FOX & TURTLE STORY🐢
Fox found a goldmine - thousands of YouTube videos full of wisdom. But watching them all would take years. "Let me read them instead," Turtle offered. He extracted the words from every video in minutes. Fox turned one hour of video into blog posts, tweets, and email sequences.
Step by Step
Install the library: pip install youtube-transcript-api
Copy the video ID from any YouTube URL (the part after v=)
Use Claude to write a script that extracts the transcript
Feed the transcript to Claude for summaries, blog posts, or tweets
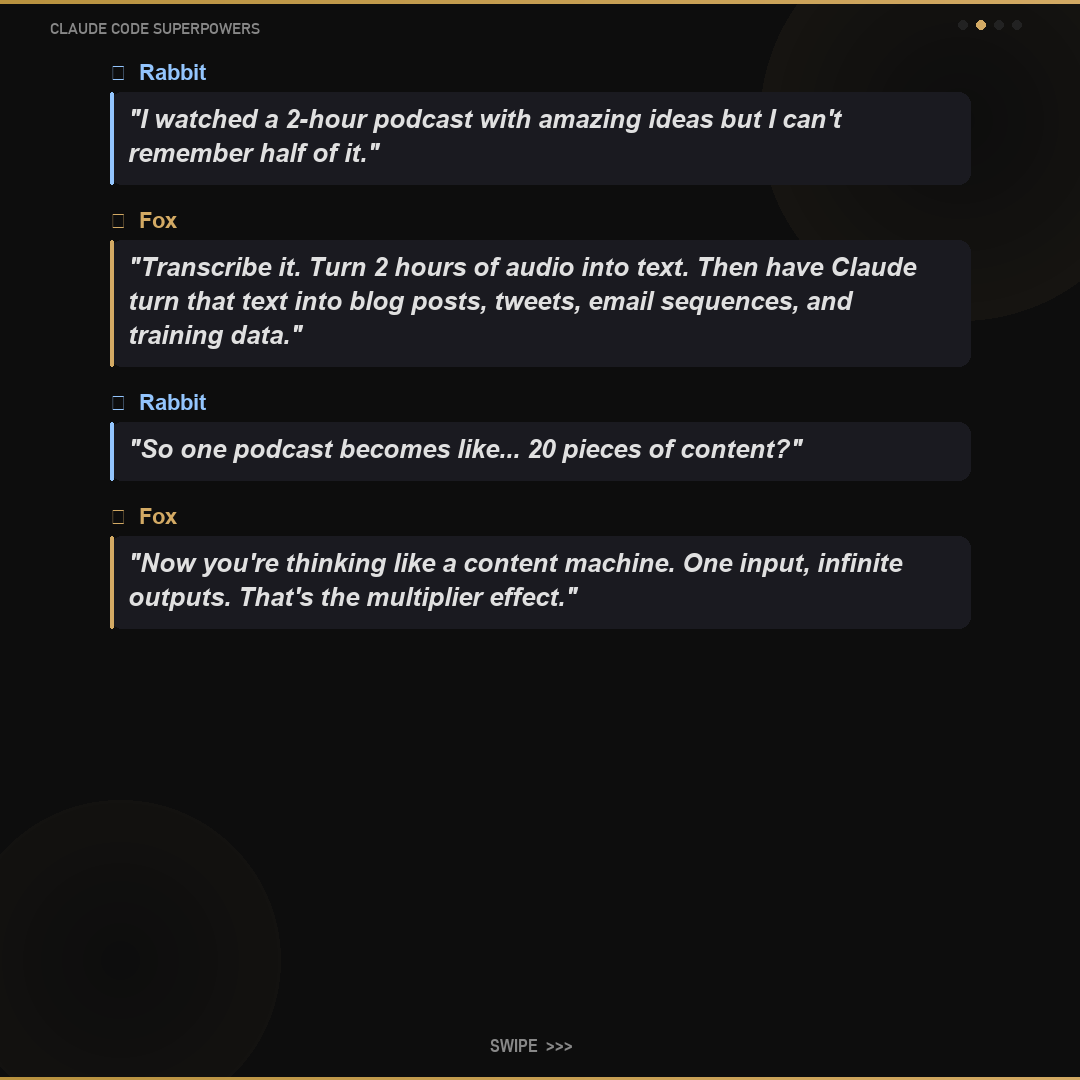
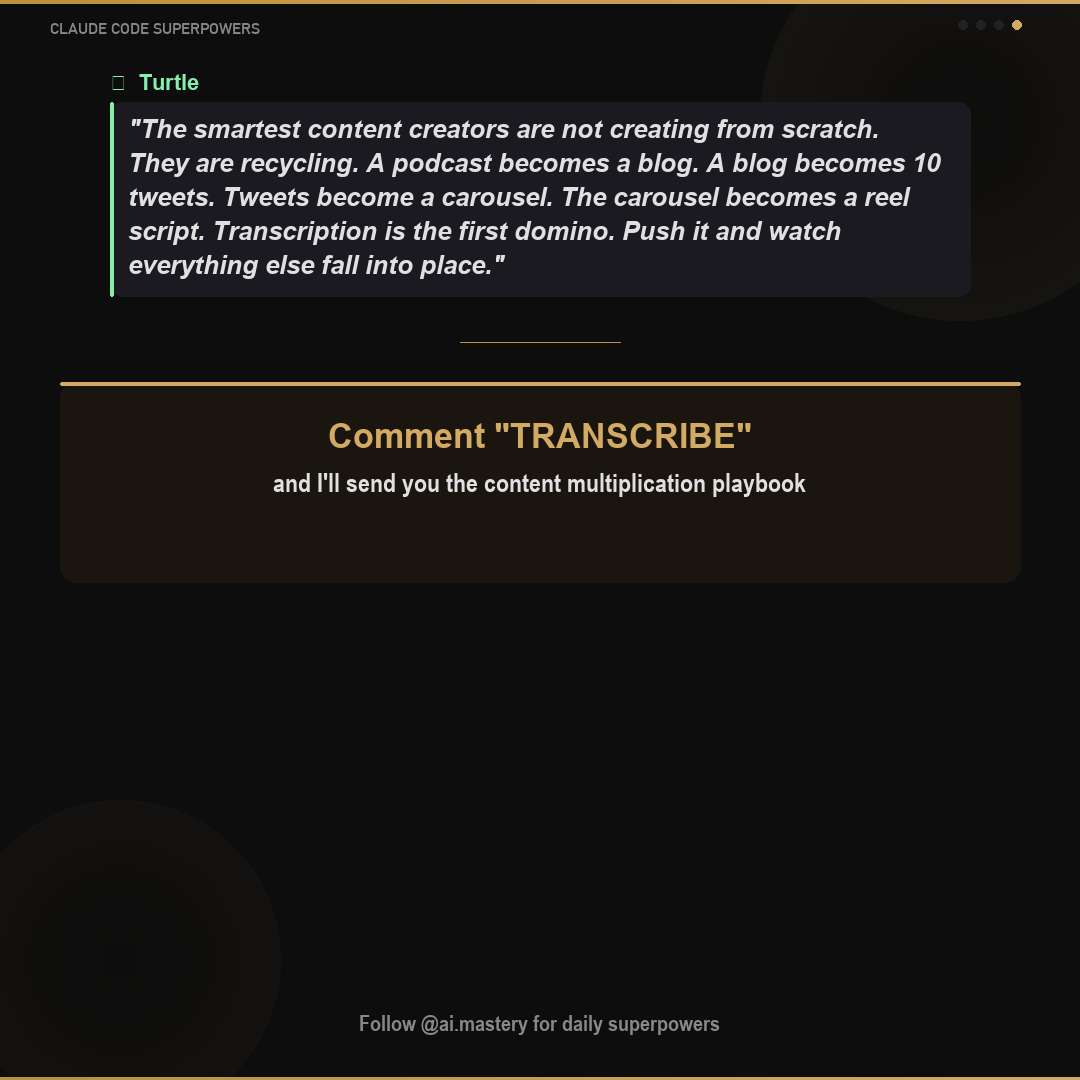
Build a content repurposing pipeline: one video becomes 10 pieces of content
Process multiple videos in batch for maximum output
This is one of the best content multiplication strategies. One 1-hour podcast can become 5 blog posts, 20 tweets, 3 email sequences, and training data for your AI.
pip install youtube-transcript-api
📱
Intermediate175 XP20 min
Social Media Automation
Fox was exhausted.
🦊FOX & TURTLE STORY🐢
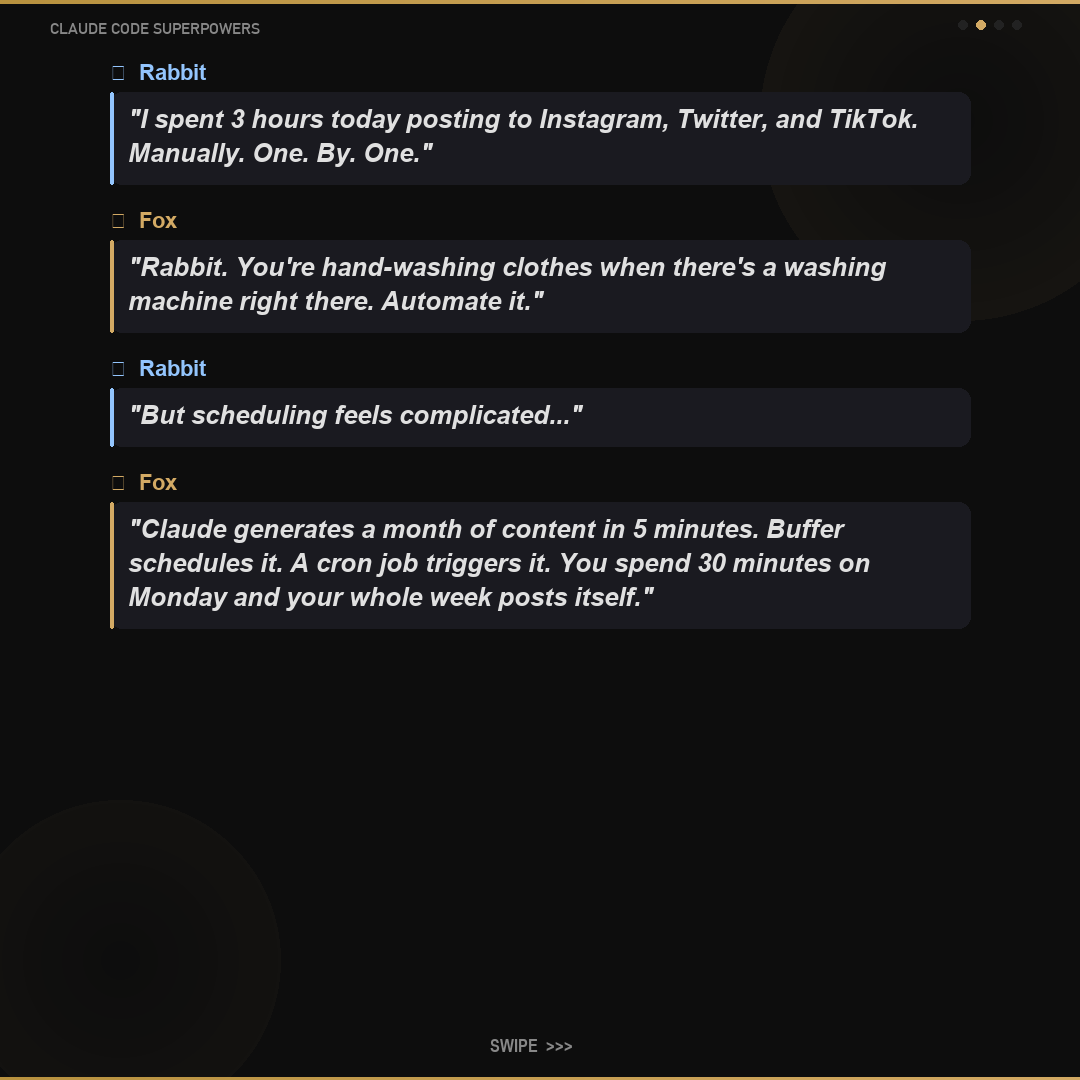
Fox was exhausted. Posting on 5 platforms every day was like hand-washing clothes when you have a washing machine. Turtle showed him how to batch-create a week of content in one hour, schedule it all, and let the machine do the rest. Fox finally had his evenings back.
Step by Step
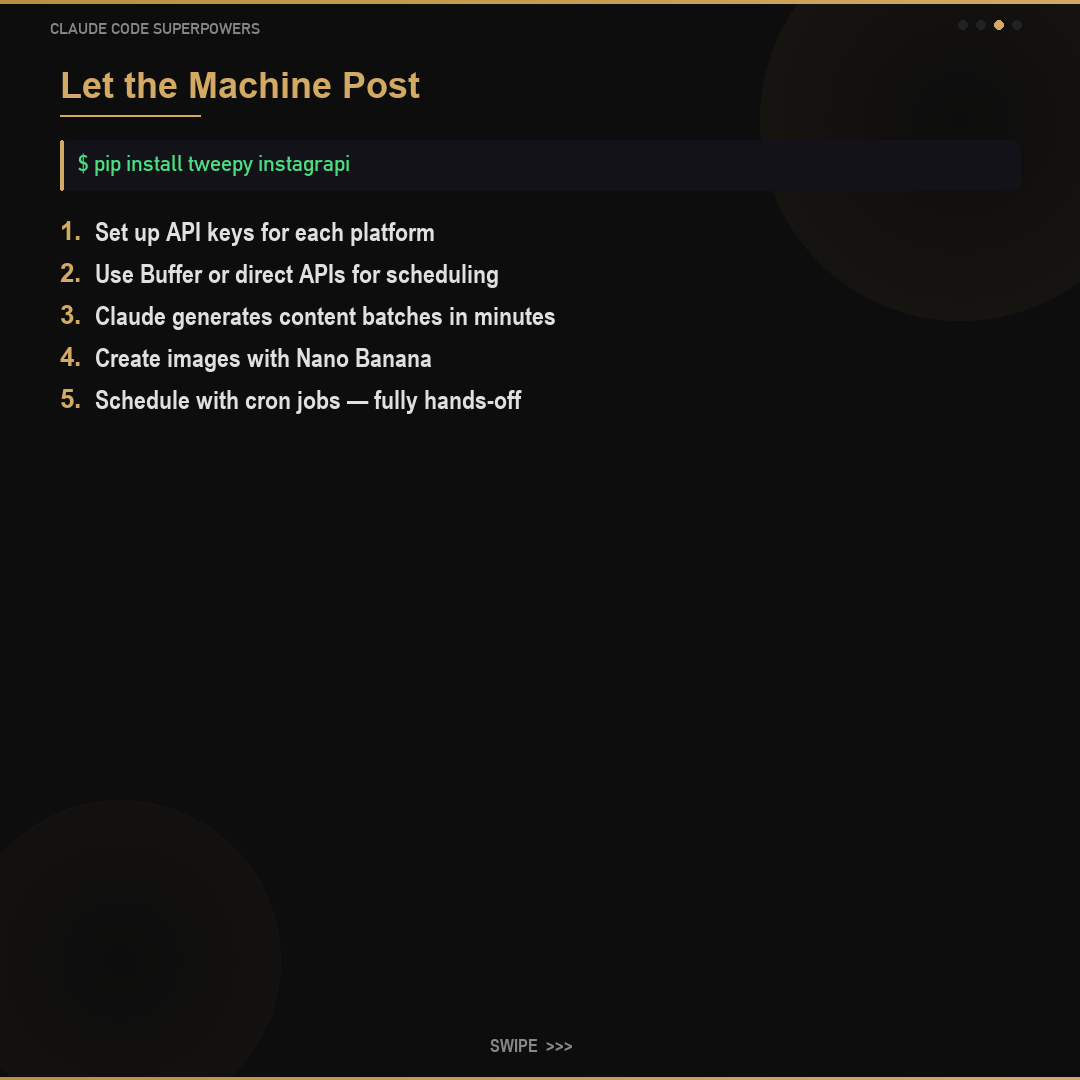
Set up API keys for each platform you want to post on
Use Buffer or direct APIs for scheduling posts
Have Claude generate a week of content in one sitting
Create matching images with Nano Banana
Schedule everything with cron jobs or a scheduling tool
Monitor engagement and let Claude adjust the strategy
Start with ONE platform. Master it. Then expand. Twitter/X has the easiest API to start with. Trying to automate 5 platforms at once is a recipe for frustration.
pip install tweepy instagrapi
🖼️
Intermediate150 XP15 min
AI Image Editing
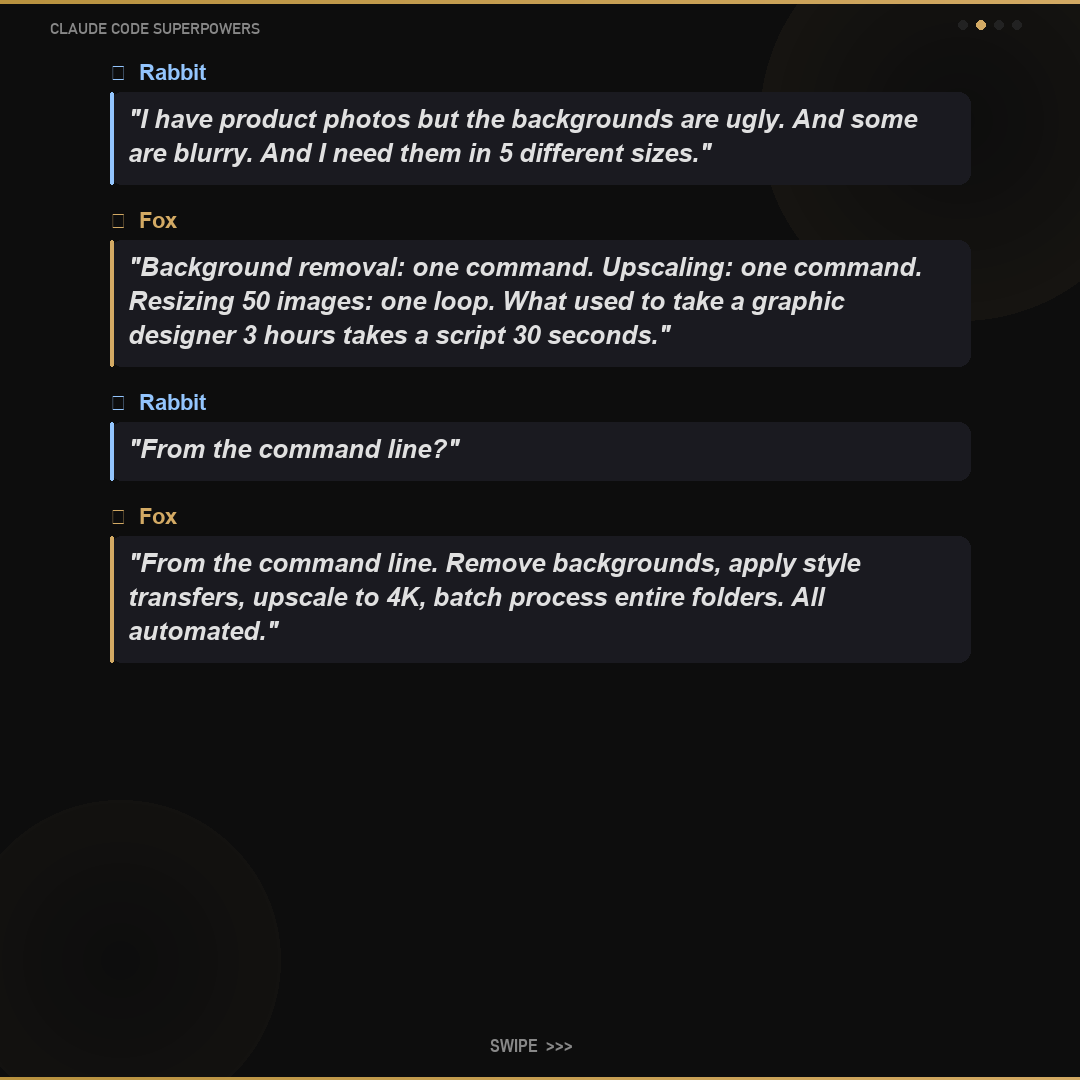
Fox had photos, but they needed work.
🦊FOX & TURTLE STORY🐢
Fox had photos, but they needed work. Backgrounds were messy, resolution was low, and the lighting was off. Turtle waved his shell and the images transformed: backgrounds removed, resolution quadrupled, colors balanced. "AI does not replace creativity," Turtle said. "It amplifies it."
Step by Step
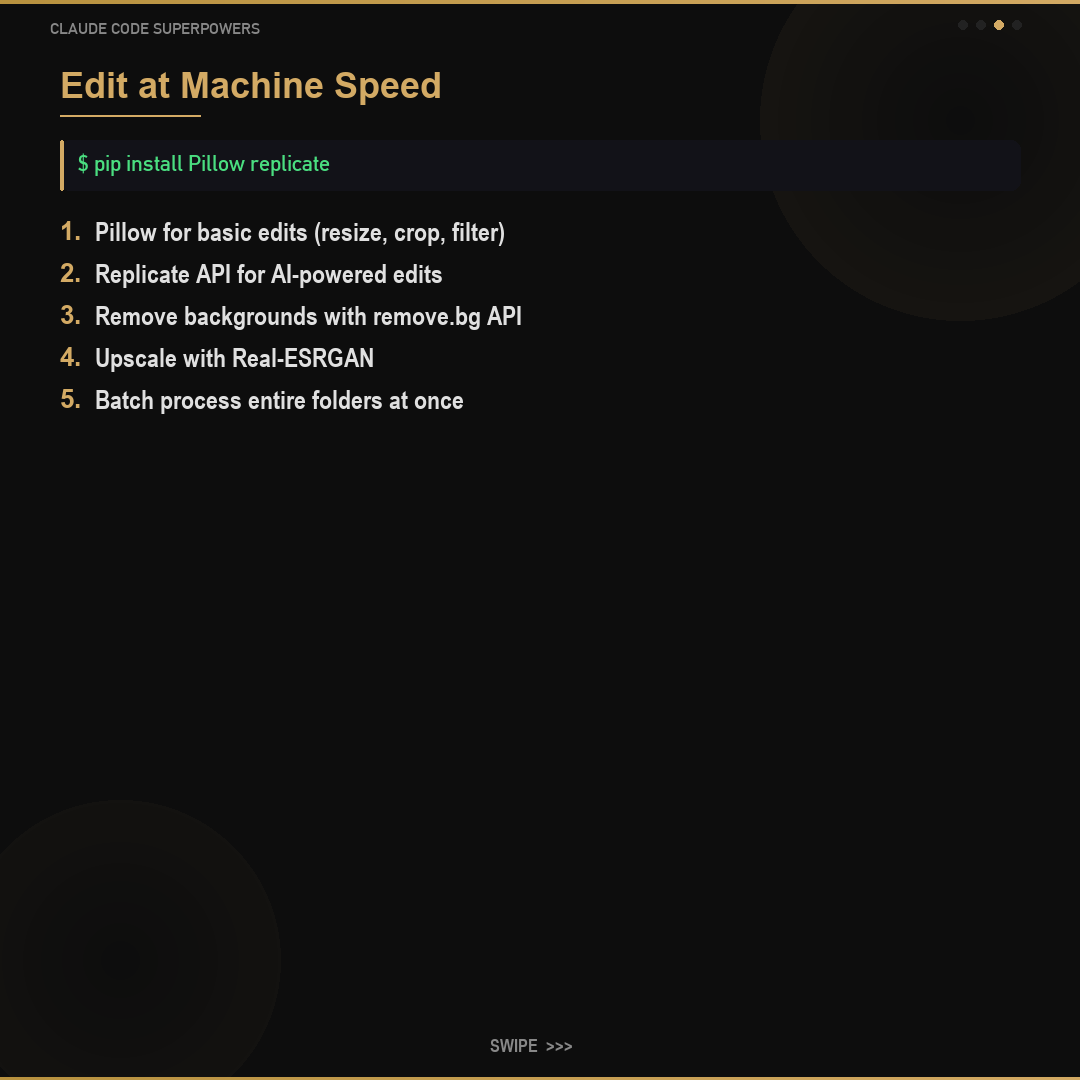
Use Pillow for basic edits: resize, crop, add filters
Use the Replicate API for AI-powered edits (background removal, style transfer)
Remove backgrounds automatically with remove.bg API
Upscale low-resolution images with Real-ESRGAN
Batch process entire folders of images at once
Combine with Nano Banana for creative edits and variations
Replicate offers hundreds of image AI models through a simple API. One line of code can do what used to take hours in Photoshop.
pip install Pillow replicate
MODULE 4
Module 4
Automation
⏱️ 2 hours📊 Intermediate to Advanced📚 6 lessons
Make things happen automatically. Schedule tasks, build multi-agent systems, automate browsers, and control everything from your phone.
Fox set his alarm for 6 AM but forgot to actually do the task.
🦊FOX & TURTLE STORY🐢
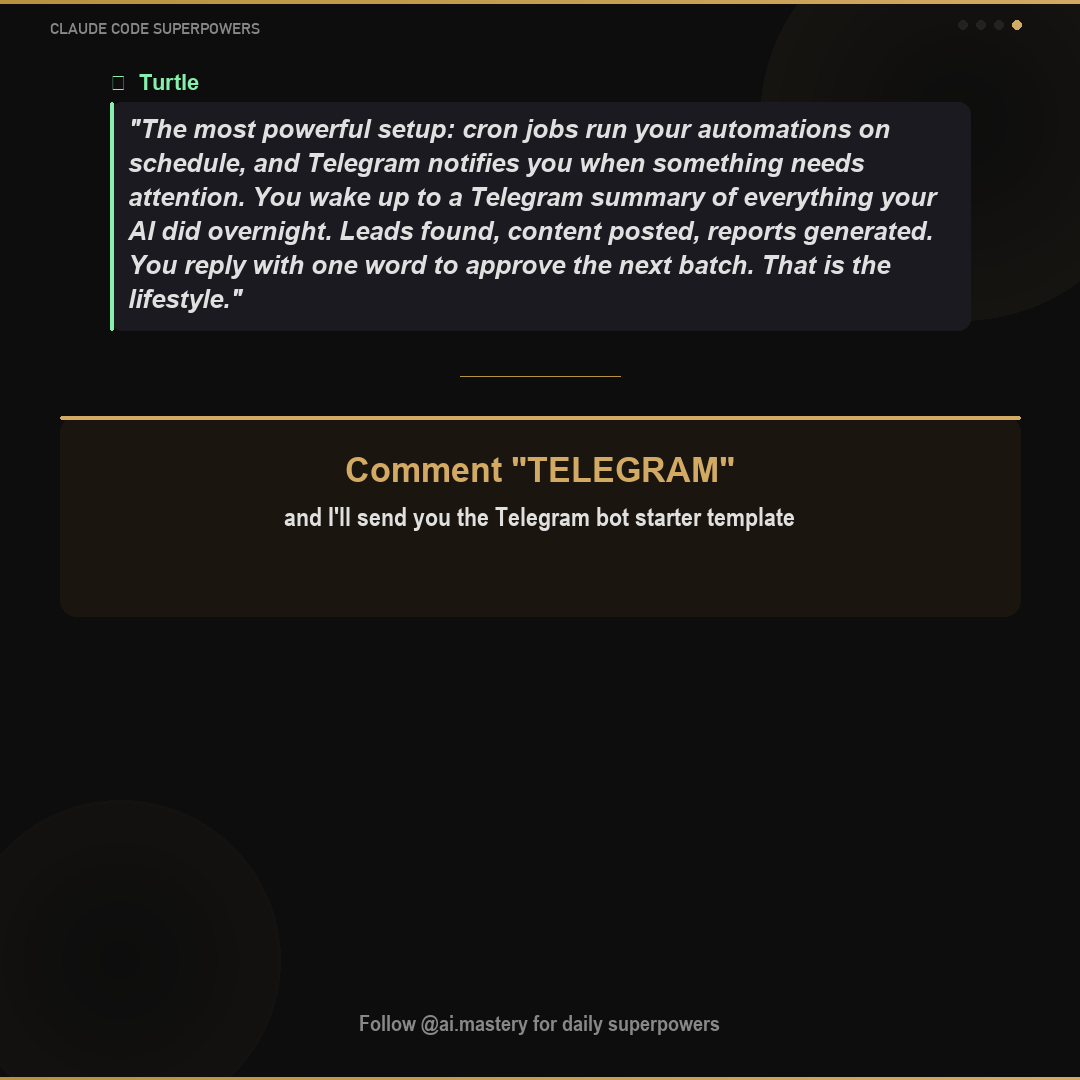
Fox set his alarm for 6 AM but forgot to actually do the task. Turtle built a clock that not only rang the alarm, but also did the task automatically. "That is a cron job," Turtle explained. "Set it once, and it runs forever while you sleep."
Step by Step
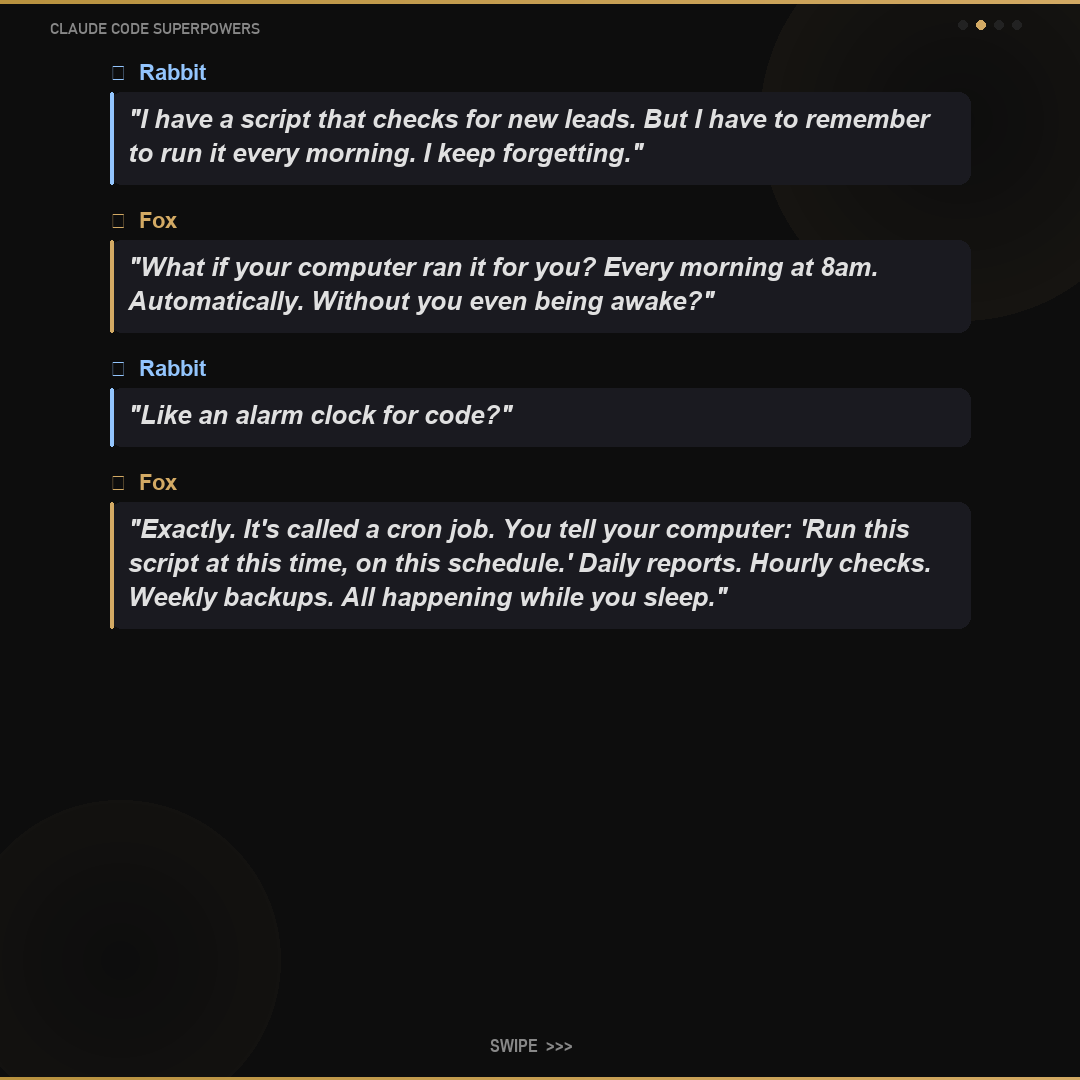
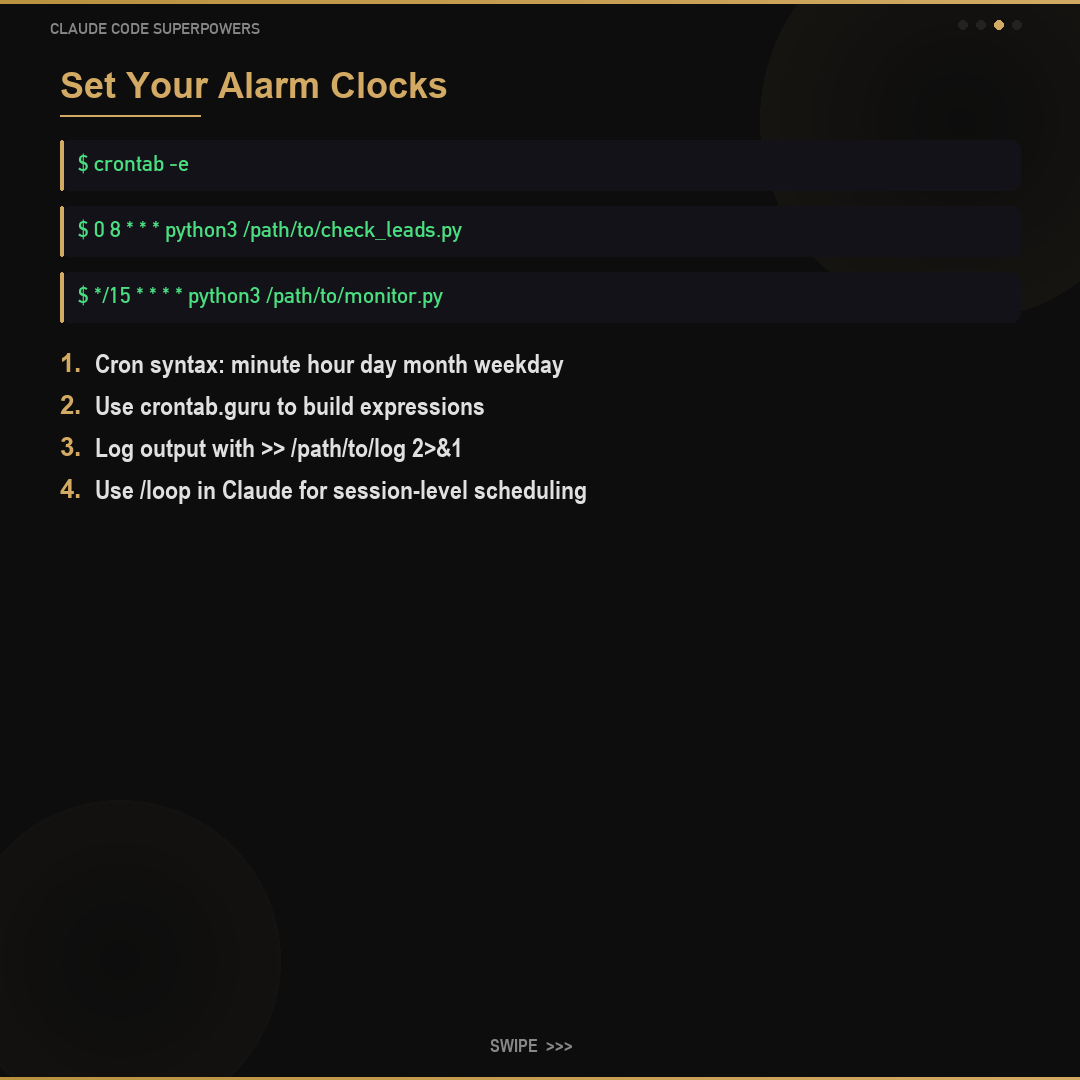
A cron job is a scheduled task - like an alarm clock for your code
The schedule format is: minute hour day month weekday (sounds complex but tools help)
Go to crontab.guru in your browser to build cron expressions visually
Type "crontab -e" in Terminal to edit your scheduled tasks
Add a line like: 0 9 * * * /path/to/your/script.sh (runs at 9 AM daily)
Use crontab.guru - it is a free website that lets you build cron schedules visually. You pick the times, it generates the expression. No memorization needed.
crontab -e
🤖
Advanced250 XP30 min
Multi-Agent Systems
One fox is clever.
🦊FOX & TURTLE STORY🐢
One fox is clever. A team of foxes is unstoppable. Fox built a team: one researched topics, one wrote content, one published it, and one monitored results. They communicated through a message system, working 24/7 without Fox lifting a paw.
Step by Step
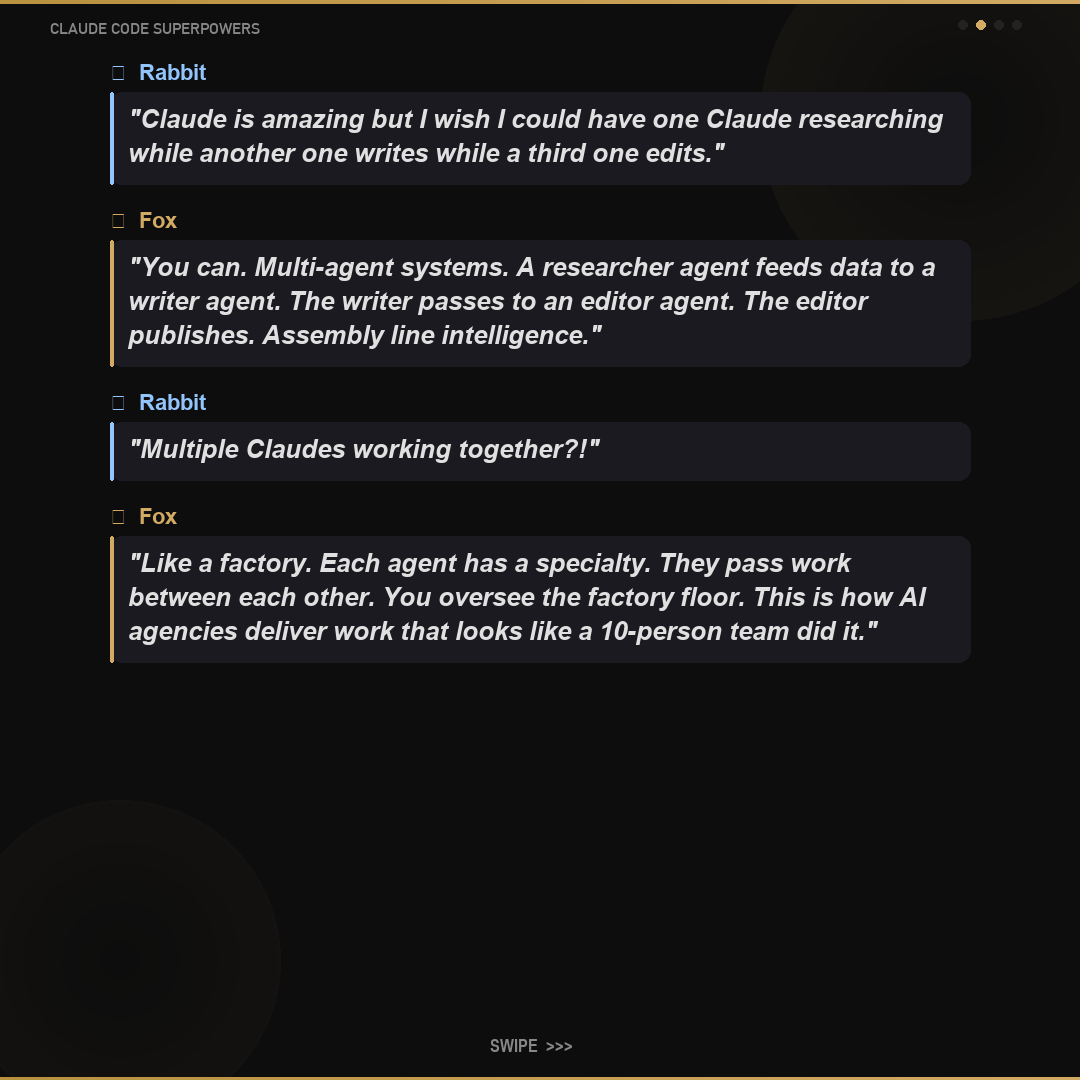
Understand the concept: multiple Claude instances with different jobs, coordinating with each other
Set up cortextOS (see the next lesson) - it is the real, open-source way to run a coordinated fleet of agents
Add a new agent with: cortextos add-agent , then bring it online with: cortextos enable
Each agent gets a unique role; they hand work to each other over a shared file bus
Example: an Orchestrator delegates research to an Analyst, who feeds results to a Writer agent
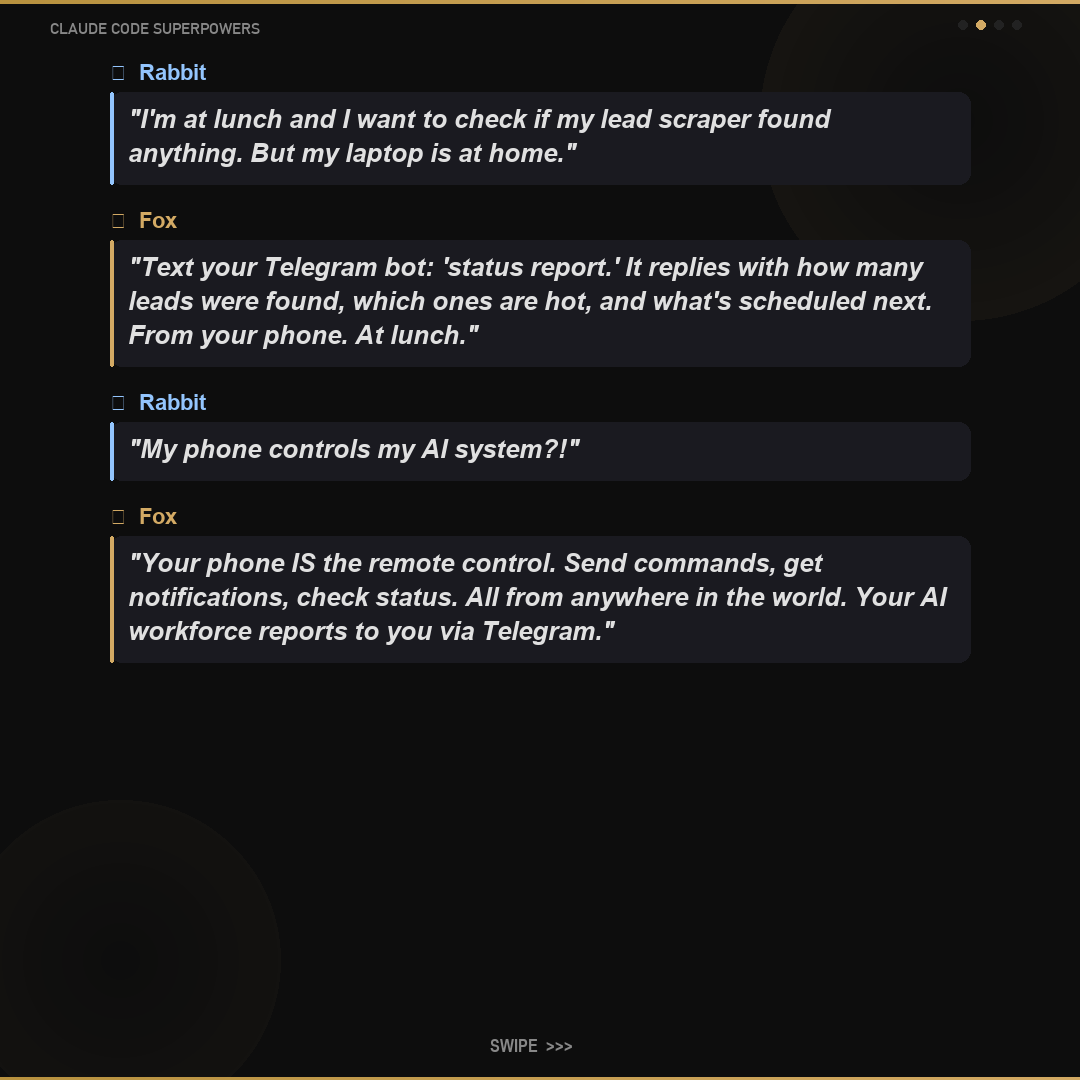
Monitor and command all of them from your phone via Telegram
Start with just 2 agents: one for research and one for execution. Get the coordination working reliably with cortextos before scaling up to a bigger team.
cortextos add-agent
🧠
God Tier350 XP45 min
cortextOS Framework
Fox's team of agents grew to 10, then 20.
🦊FOX & TURTLE STORY🐢
Fox's team of agents grew to 10, then 20. Managing them all was chaos. Turtle designed an operating system for the AI workforce - routing tasks, handling errors, scaling automatically. "CortexOS does not replace your agents," Turtle said. "It makes them an army."
Step by Step
What it is: cortextOS runs persistent 24/7 Claude Code agents you control from Telegram or your phone - an Orchestrator + Analyst + specialists coordinating over a shared file bus, with a web dashboard, cron scheduling that survives restarts, and human-approval gates before any external action. Real and open-source (MIT).
Requirements: Mac or Linux, Node.js 20+, a Claude API key (claude.ai/settings/keys), and a Telegram bot token from @BotFather.
Step 1 - install PM2 (the process manager that keeps agents alive): npm install -g pm2
Fox was tired of clicking the same buttons every day: log in, check reports, download files, repeat.
🦊FOX & TURTLE STORY🐢
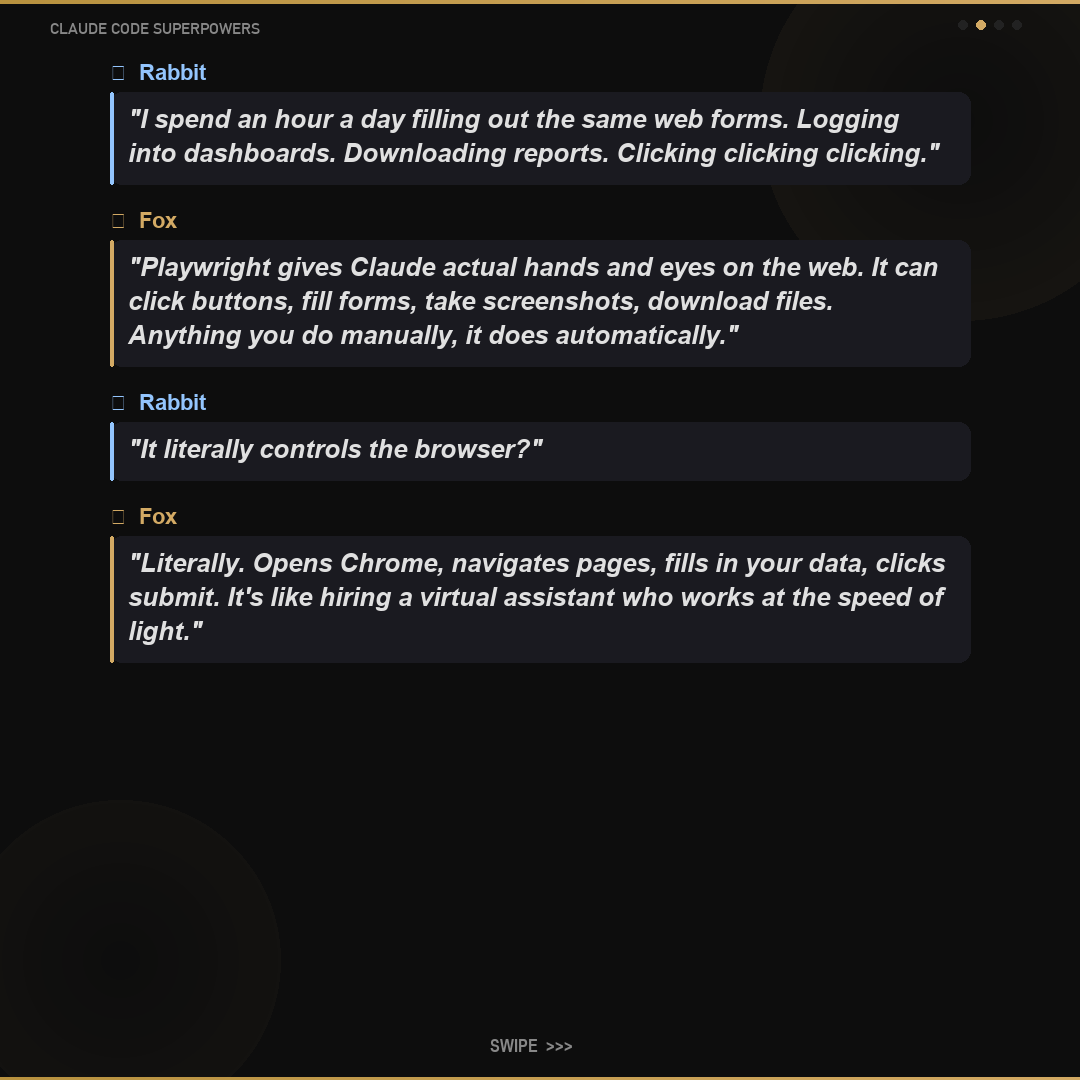
Fox was tired of clicking the same buttons every day: log in, check reports, download files, repeat. Turtle wrote a script that did it all automatically. "If a human can click it, Playwright can click it," Turtle said. Fox never filled another form by hand.
Step by Step
Install Playwright: pip install playwright
Install browser drivers: playwright install
Write a Python script to control the browser
Navigate to pages, fill in forms, click buttons
Take screenshots and extract data from web pages
Use "playwright codegen" to record your clicks and auto-generate the script
The absolute easiest way to start: type "playwright codegen" in Terminal. It opens a browser and records everything you do as code. Then you just replay that code automatically.
pip install playwright && playwright install
📨
Intermediate175 XP15 min
Telegram Bot Integration
Fox built amazing automations, but he had to sit at his computer to check on them.
🦊FOX & TURTLE STORY🐢
Fox built amazing automations, but he had to sit at his computer to check on them. Turtle set up a Telegram bot. Now Fox gets a message on his phone when tasks finish, can send commands from the beach, and checks status from anywhere in the world.
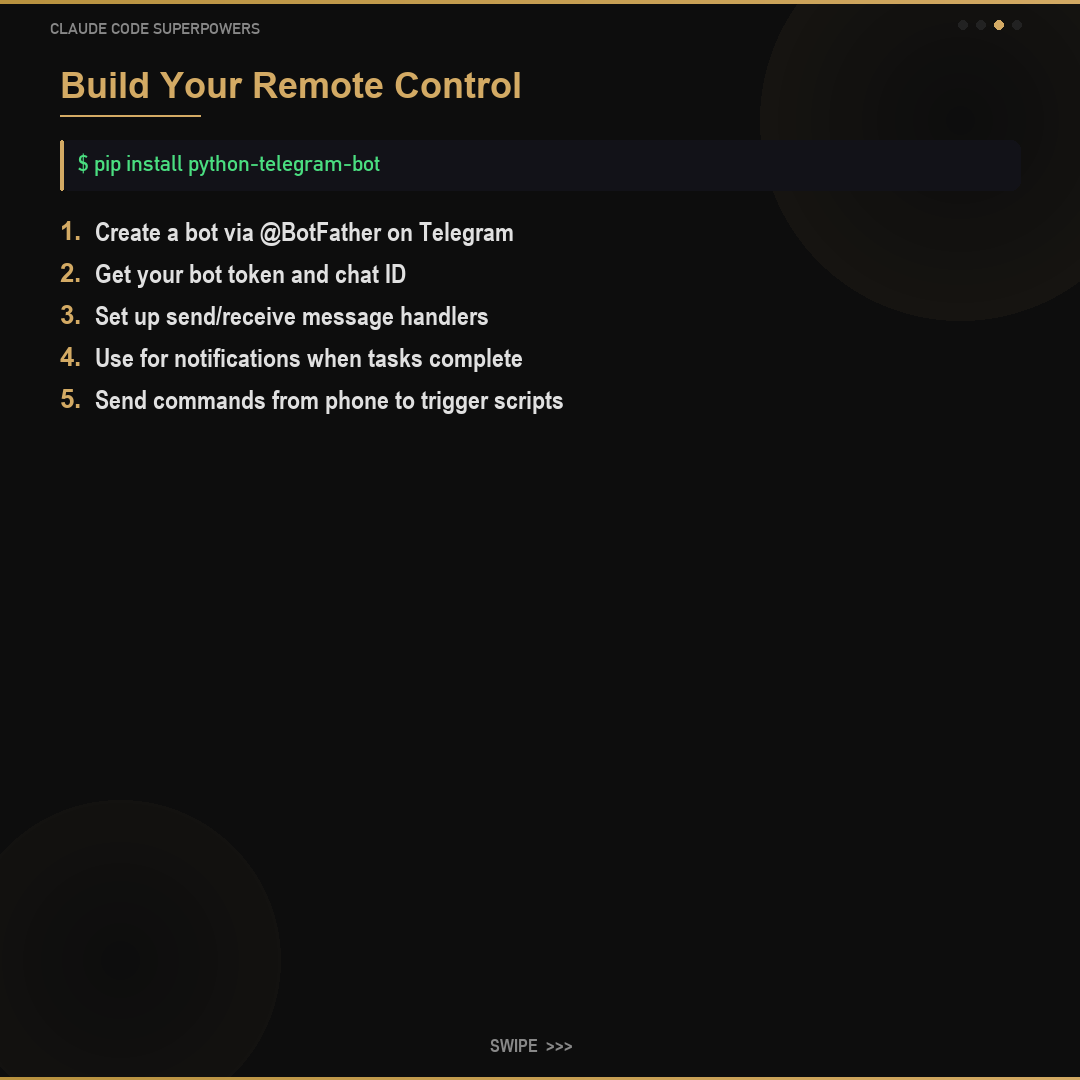
Step by Step
Open Telegram and message @BotFather to create a new bot
Follow BotFather's prompts to name your bot and get a token
Save the bot token in your .env file: BOT_TOKEN=your_token
Message your new bot on Telegram, then get your chat ID
Set up scripts to send and receive messages through the bot
Integrate with Claude Remote Manager for full remote control
Always set ALLOWED_USER to restrict your bot to only YOUR Telegram account. Never share your bot token with anyone. Treat it like a password.
pip install python-telegram-bot
🎨
Advanced300 XP30 min
Higgsfield AI Image Automation
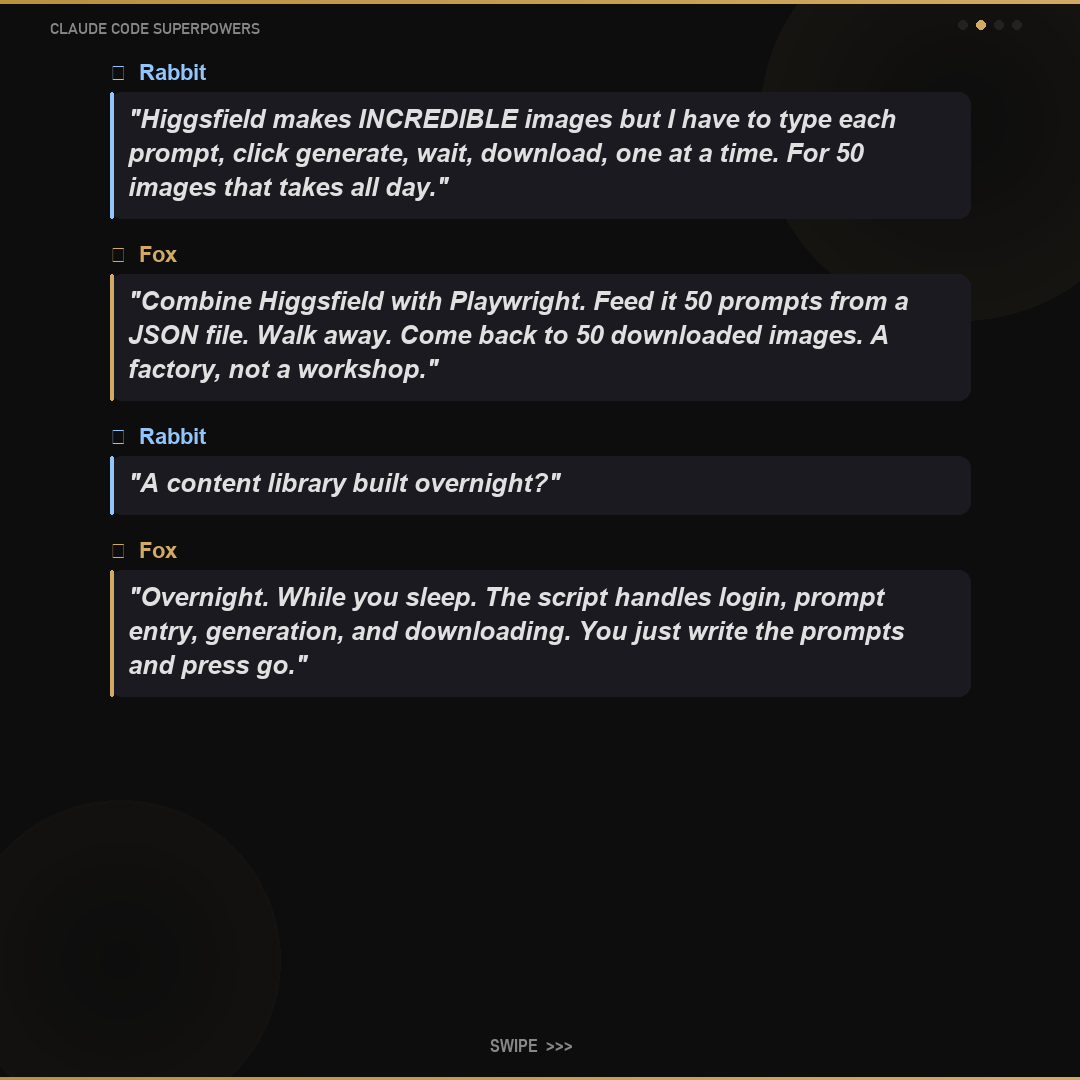
Fox needed 50 images for his content library.
🦊FOX & TURTLE STORY🐢
Fox needed 50 images for his content library. Clicking "Generate" one at a time would take all day. Turtle connected Playwright to Higgsfield and built an image factory. "Feed it 50 prompts, walk away, come back to 50 cinematic images," Turtle said. The content library was built overnight.
Step by Step
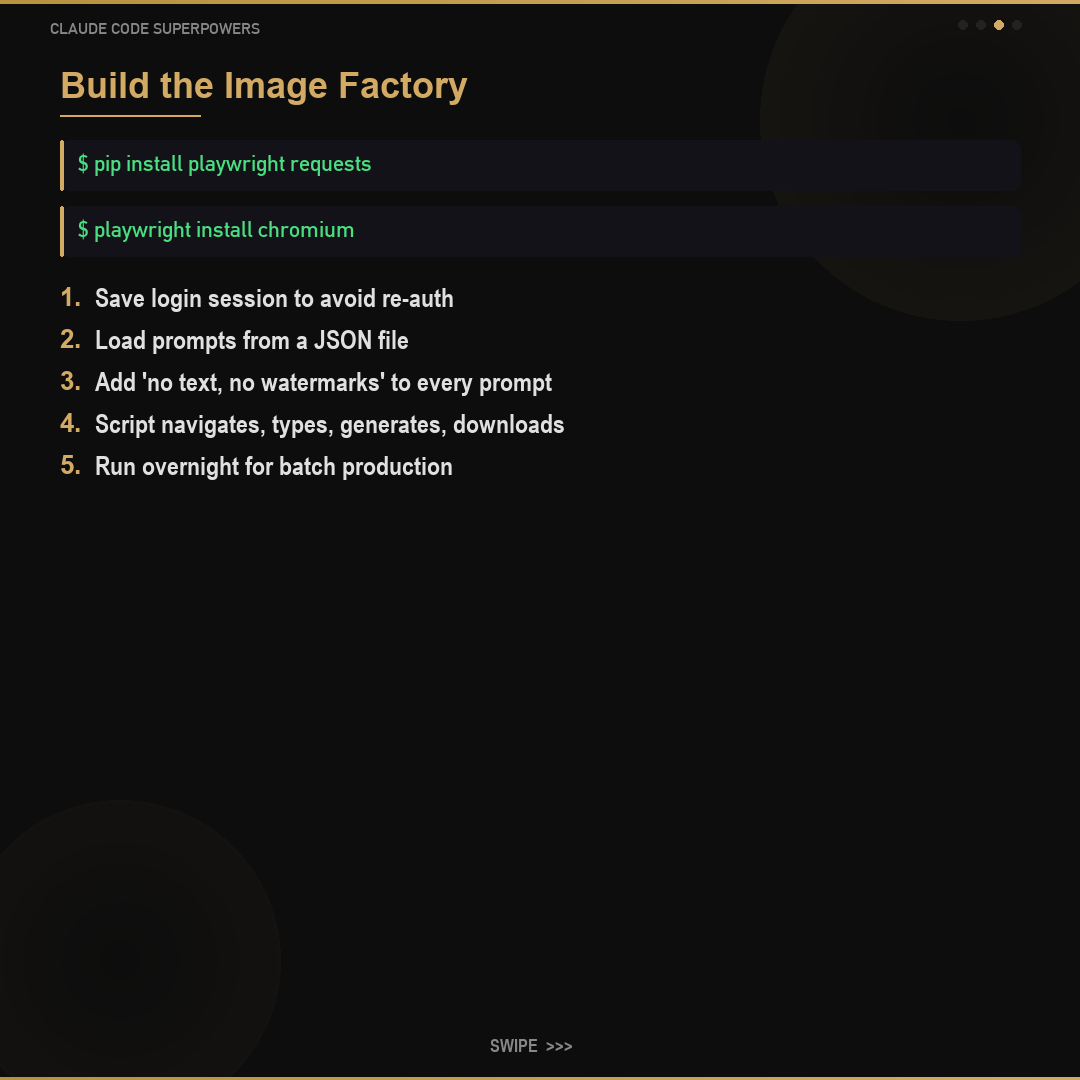
Create a browser profile to save your login: run the login script once
Launch Playwright with stealth settings to avoid bot detection
Navigate to higgsfield.ai/image and wait for the page to load
Switch models manually before running (Soul 2.0 or Seeddream 5.0 Lite)
For each prompt: clear the text box, type the prompt, click Generate, wait, download
Store prompts in a JSON file so you can swap batches easily
Add "no text, no watermarks" to every prompt for clean images
The prompt bar is a contenteditable div, not a regular input. Clear it with Cmd+A then Backspace. Also, always close Chrome completely before running Playwright or the profile lock will block it.
Fox built an incredible product but had no cash register.
🦊FOX & TURTLE STORY🐢
Fox built an incredible product but had no cash register. Turtle connected the Stripe pipeline - now customers could pay with one click. "Money is the lifeblood of business," Turtle said. "Stripe is the heart that pumps it." Payments flowed in automatically, day and night.
Step by Step
Create a free Stripe account at stripe.com
Find your API keys in the Stripe dashboard (Developers section)
Install the Stripe library: pip install stripe
Create products and prices in your Stripe dashboard
Use Claude to build checkout pages and payment flows
Set up webhooks to get notified when payments come in
ALWAYS use test mode keys (they start with sk_test_) during development. Only switch to live keys (sk_live_) when you are ready to accept real money.
pip install stripe
🔍
Intermediate175 XP15 min
Perplexity Research
Claude is brilliant, but his knowledge has a cutoff date.
🦊FOX & TURTLE STORY🐢
Claude is brilliant, but his knowledge has a cutoff date. "What happened yesterday?" Fox asked. Claude shrugged. Turtle plugged in Perplexity, and suddenly Fox had real-time web access. "Now I can research anything happening right now," Turtle said.
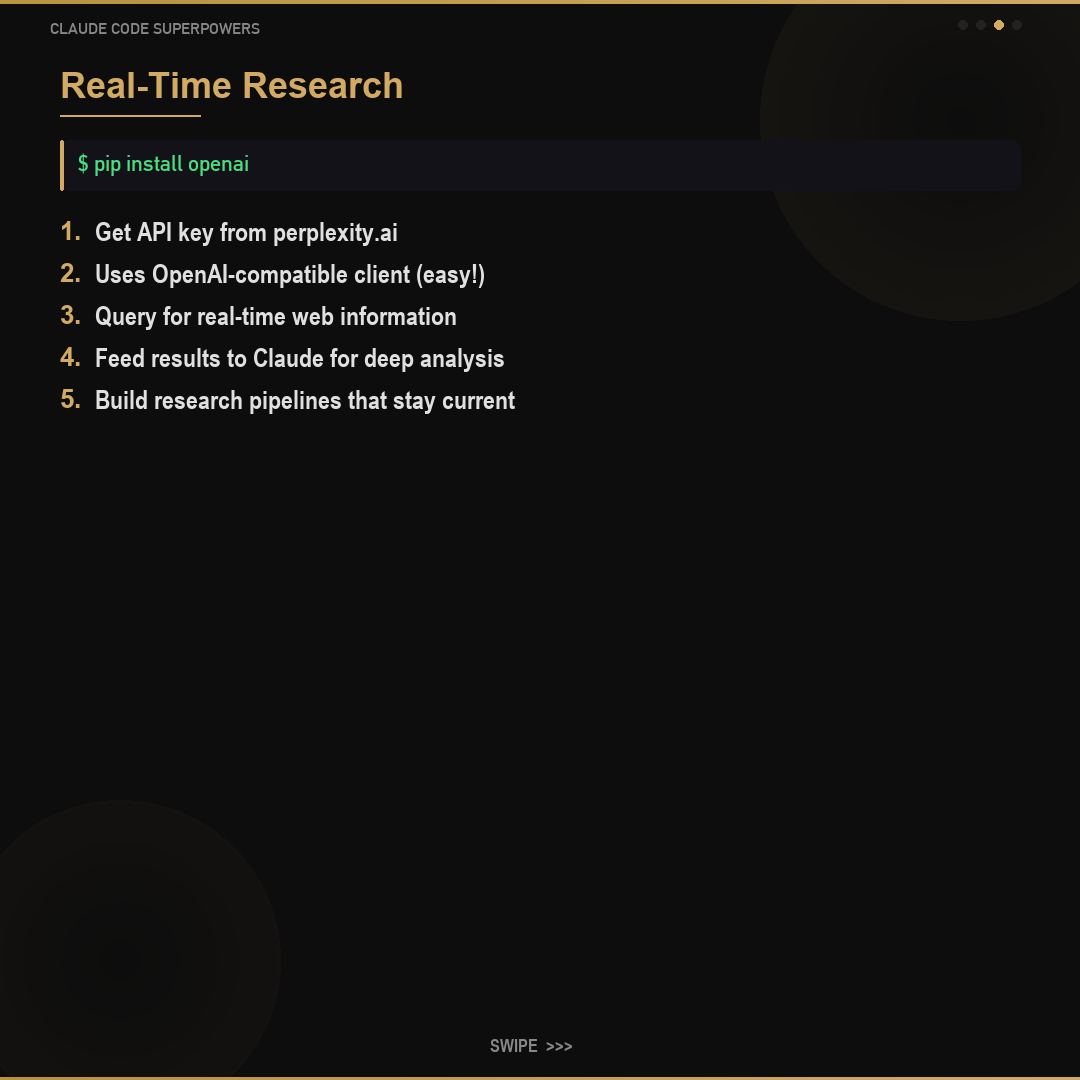
Step by Step
Sign up at perplexity.ai and get an API key
Install the OpenAI library (Perplexity uses the same format): pip install openai
Point the client to Perplexity's endpoint instead of OpenAI's
Send queries for real-time web information
Combine with Claude: Perplexity finds data, Claude analyzes it
Build automated research pipelines for any topic
Use Perplexity for anything current: news, prices, recent events. Use Claude for analysis, writing, and decision-making. They complement each other perfectly.
pip install openai
📞
Intermediate175 XP15 min
Twilio SMS & Calls
Fox needed to notify customers, but emails got ignored.
🦊FOX & TURTLE STORY🐢
Fox needed to notify customers, but emails got ignored. "Text messages have a 98% open rate," Turtle noted. They set up Twilio, and now Fox could send reminders, alerts, and follow-ups that people actually read. Business response rates tripled.
Step by Step
Create a Twilio account at twilio.com (free trial available)
Buy a phone number in the Twilio console (costs about $1/month)
Install the library: pip install twilio
Send your first SMS with just 5 lines of code
Set up webhooks to handle incoming messages
Build notification systems for your automations
Start with SMS - it is by far the simplest. Voice calls require TwiML markup (a special format for call scripts). Master texting first.
pip install twilio
⚡
Beginner125 XP10 min
Zapier Webhooks
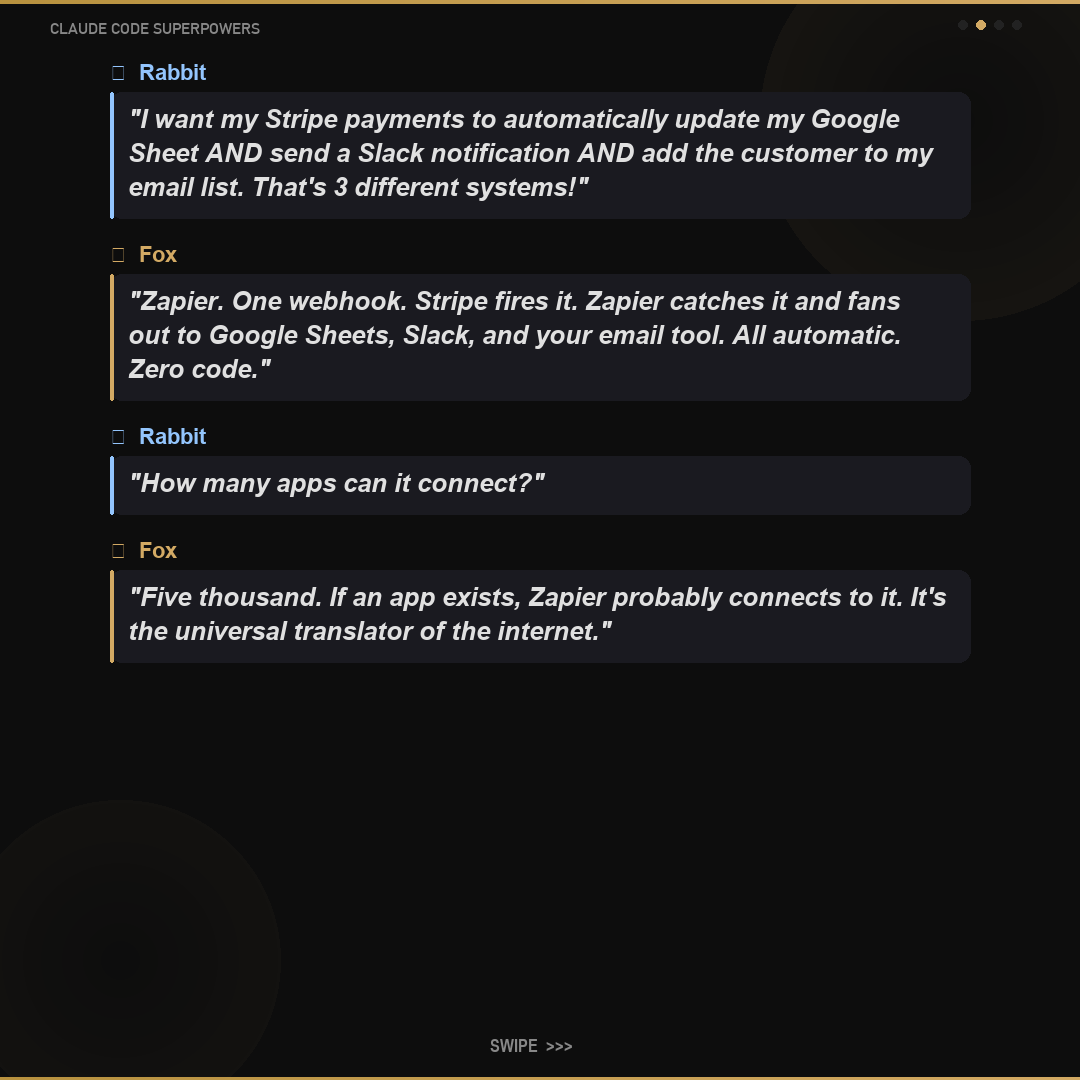
Fox needed Slack to talk to Google Sheets to talk to his CRM to talk to his email.
🦊FOX & TURTLE STORY🐢
Fox needed Slack to talk to Google Sheets to talk to his CRM to talk to his email. Each integration seemed like a separate project. Turtle introduced Zapier - the universal translator. "It connects everything to everything," Turtle said. "No custom code needed."
Step by Step
Create a free Zapier account at zapier.com
Create a new "Zap" and choose "Webhooks" as the trigger
Zapier gives you a unique URL - copy it
From Claude, send data to that URL using curl (a simple web request)
In Zapier, map the data fields to your destination app
Choose from 5,000+ apps: Slack, Google Sheets, Notion, HubSpot, etc.
Use Zapier for quick, simple integrations. When you need high-volume or complex logic, build a custom API integration instead. Zapier is best for the "glue" between services.
curl -X POST https://hooks.zapier.com/hooks/catch/YOUR_HOOK
📊
Beginner125 XP10 min
Airtable Database
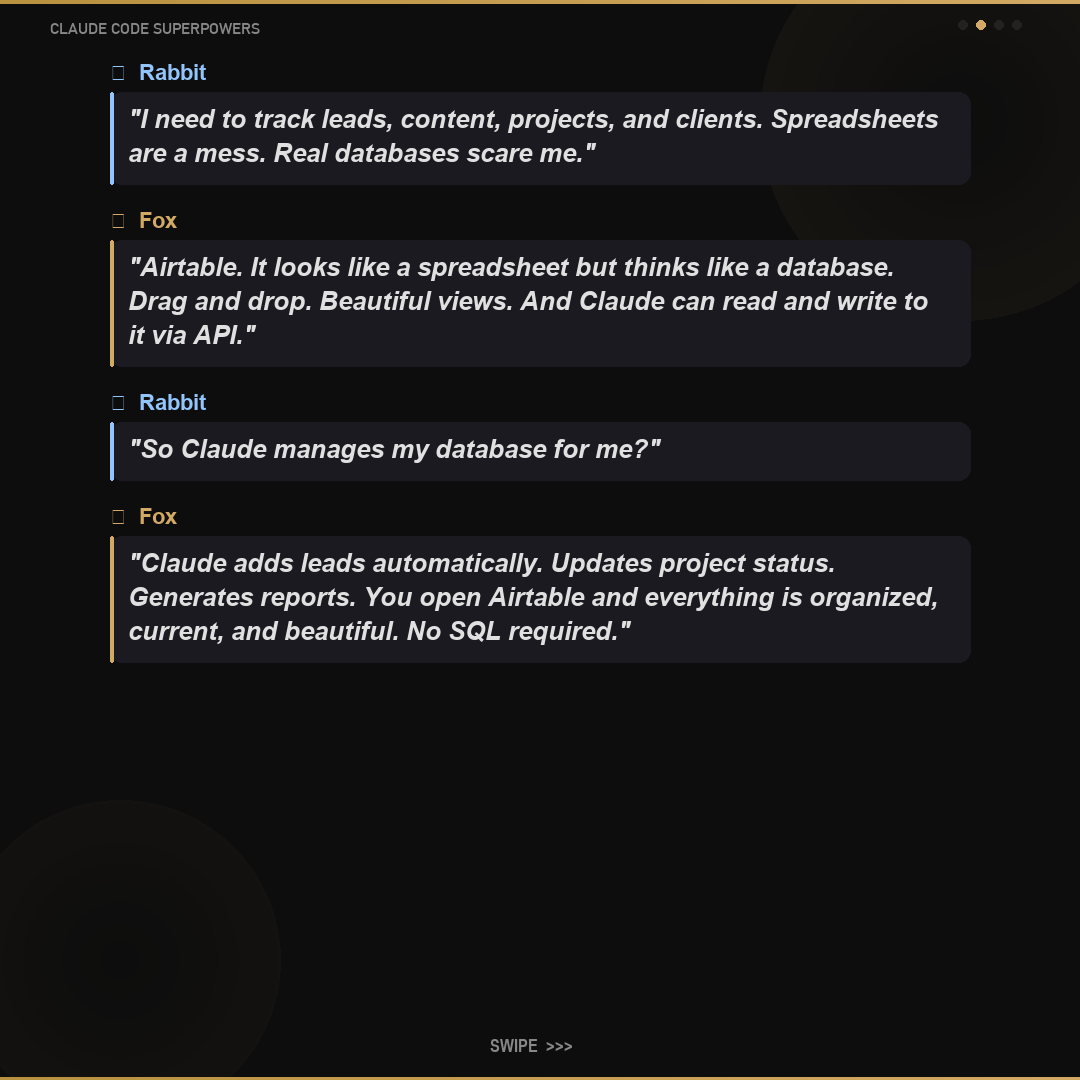
Fox needed to track leads, content, and projects, but databases looked scary.
🦊FOX & TURTLE STORY🐢
Fox needed to track leads, content, and projects, but databases looked scary. Turtle showed him Airtable - it looked like a spreadsheet but worked like a database. "The best of both worlds," Turtle said. Fox was organizing everything within minutes.
Step by Step
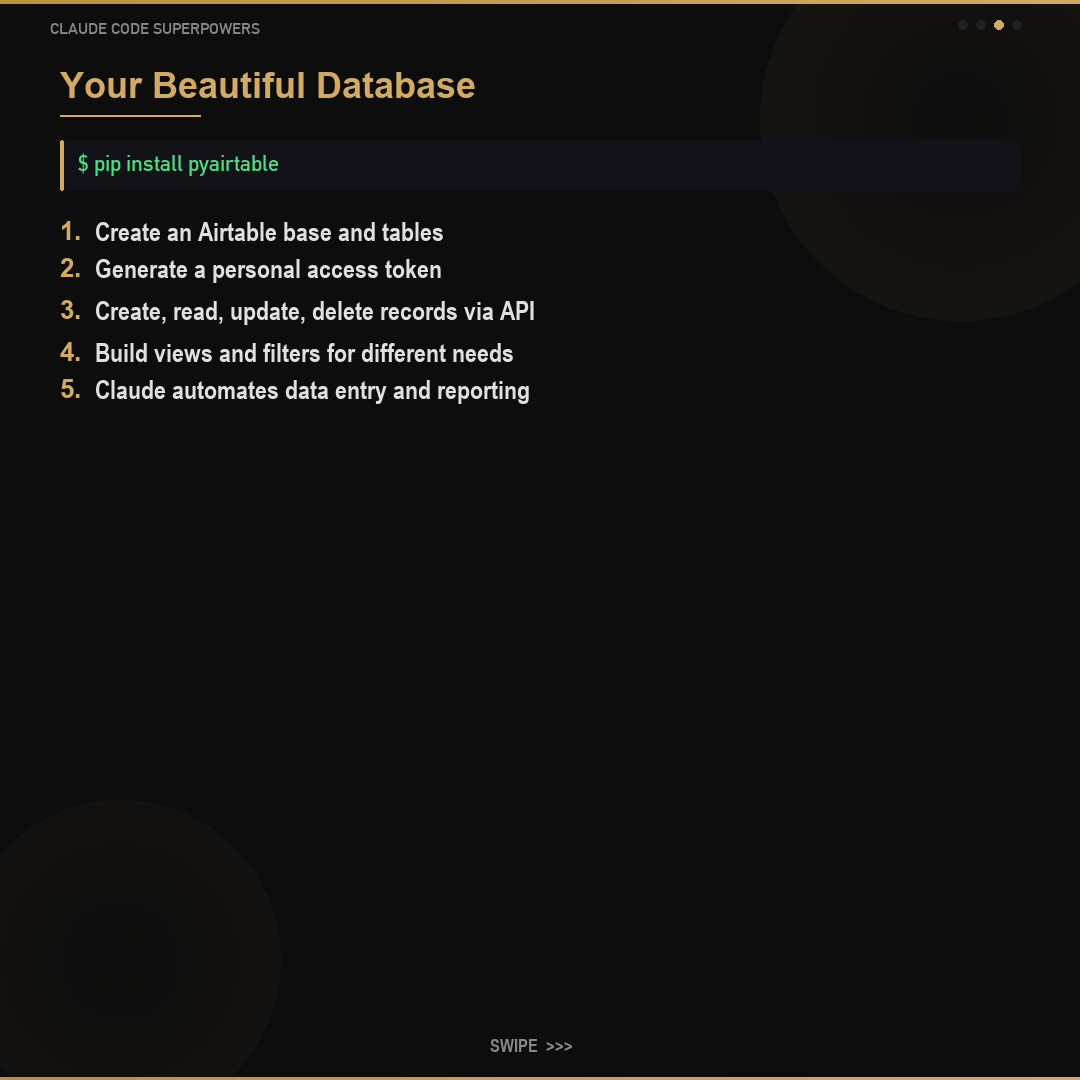
Create a free Airtable account at airtable.com
Create a "base" (that is what Airtable calls a database)
Design your tables and fields using the visual interface
Generate a personal access token in your account settings
Install the library: pip install pyairtable
Use Claude to build scripts that create, read, update, and delete records
Design your table structure carefully before adding data. Changing the structure later is much harder when you have real data in there. Sketch it out on paper first.
pip install pyairtable
📁
Intermediate150 XP20 min
Google Drive Integration
Fox's team lived in Google Drive - reports, proposals, spreadsheets everywhere.
🦊FOX & TURTLE STORY🐢
Fox's team lived in Google Drive - reports, proposals, spreadsheets everywhere. But finding and organizing files manually was chaos. Turtle connected Claude to Drive, and suddenly files sorted themselves, reports generated automatically, and proposals appeared on schedule.
Step by Step
Go to console.cloud.google.com and create a project
Enable the Google Drive API in that project
Create credentials (service account is easiest for automation)
Download the credentials JSON file
Install the library: pip install google-api-python-client google-auth
Use Claude to build scripts that upload, download, search, and organize files
Service accounts are the easiest path for automation - no login prompts, no browser popups. Just a credentials file and you are in. Use OAuth only when you need user-specific file access.
pip install google-api-python-client google-auth
🎙️
Intermediate175 XP15 min
Whisper Transcription
Fox recorded hours of meetings and voice notes, but all that knowledge was locked in audio.
🦊FOX & TURTLE STORY🐢
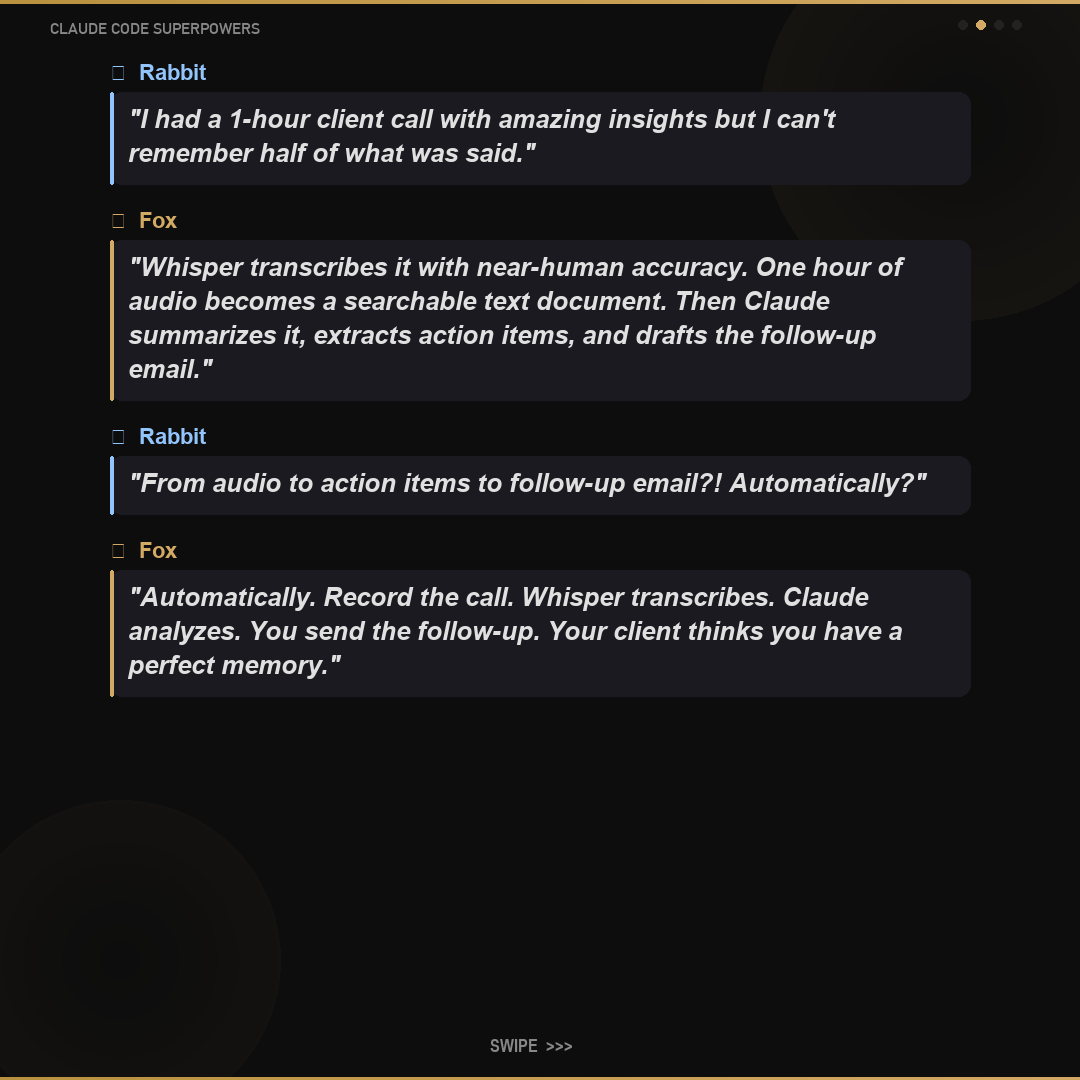
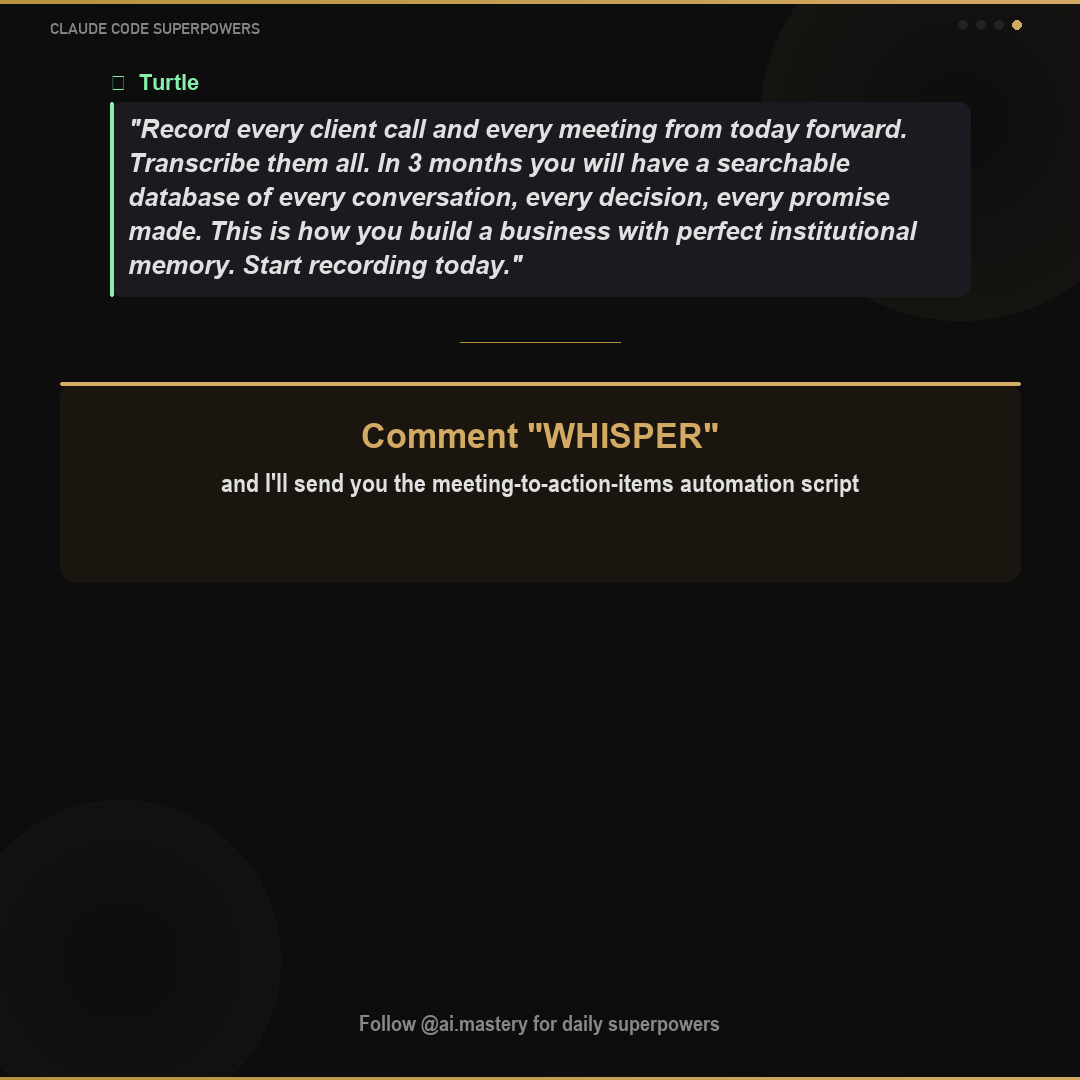
Fox recorded hours of meetings and voice notes, but all that knowledge was locked in audio. Turtle ran Whisper on everything and turned sound into searchable text. Meeting notes appeared automatically. Voice memos became action items. Nothing was lost again.
Step by Step
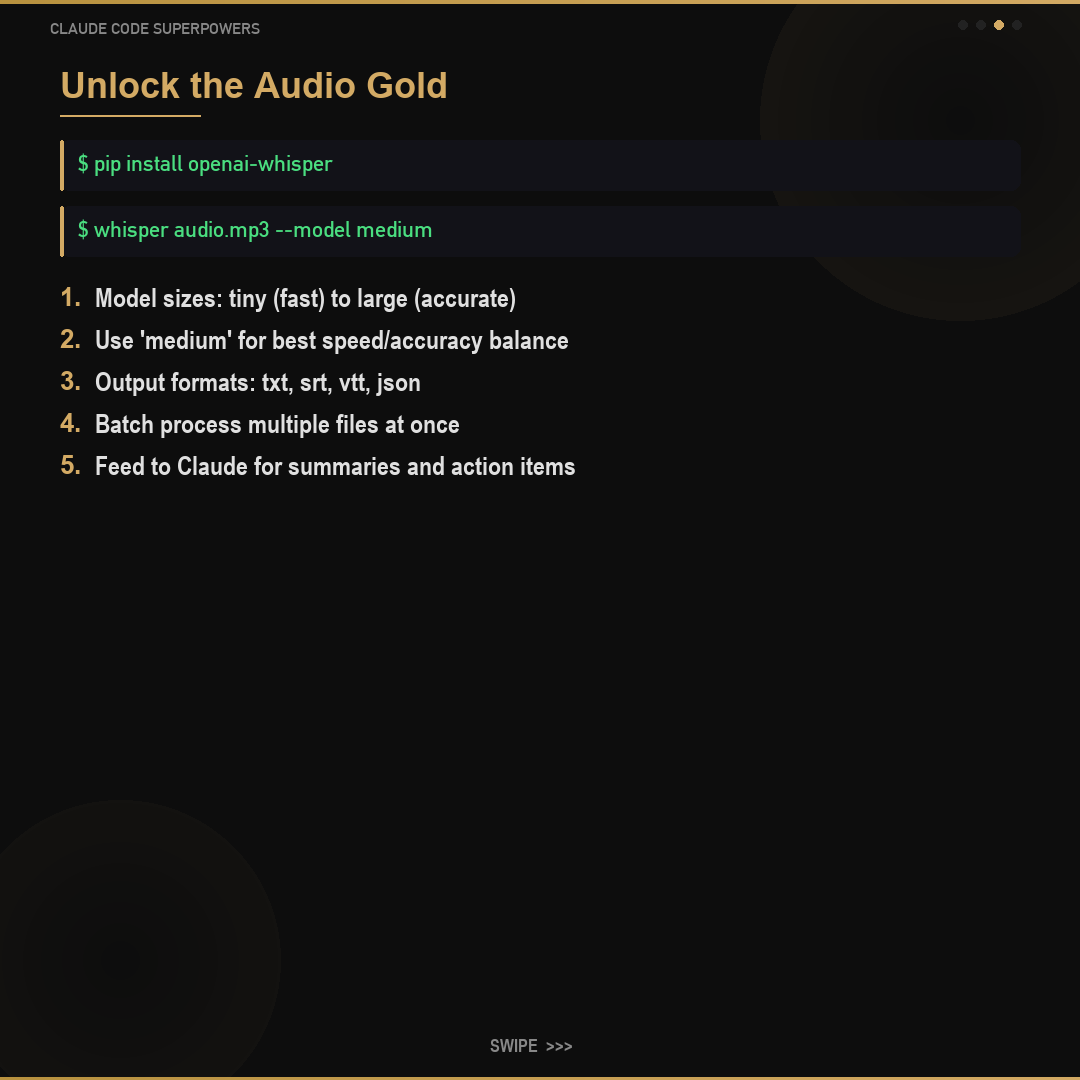
Install Whisper: pip install openai-whisper
Transcribe a file: whisper recording.mp3 --model medium
Choose your model size: tiny (fast) to large (most accurate)
Feed transcriptions to Claude for summaries, action items, or blog posts
Use the "medium" model for the best balance of speed and accuracy. "tiny" is great for quick drafts. "large" is the most accurate but significantly slower.
pip install openai-whisper
MODULE 6
Module 6
Mastery
⏱️ 3 hours📊 Advanced to God Tier📚 4 lessons
The final level. Build production systems, create your own tools, and turn your AI skills into a real business.
Vector databasesProduction deploySelling AI servicesCustom skill dev
Click play to listen
0:000:00
🧲
Advanced300 XP30 min
Vector Database & RAG
Fox had 10,000 documents and needed to find the right paragraph instantly.
🦊FOX & TURTLE STORY🐢
Fox had 10,000 documents and needed to find the right paragraph instantly. "A regular search looks for exact words," Turtle explained. "A vector database understands meaning." Fox asked a question in plain English and got the perfect answer from a document he forgot existed.
Step by Step
Understand the concept: convert documents into mathematical representations (vectors)
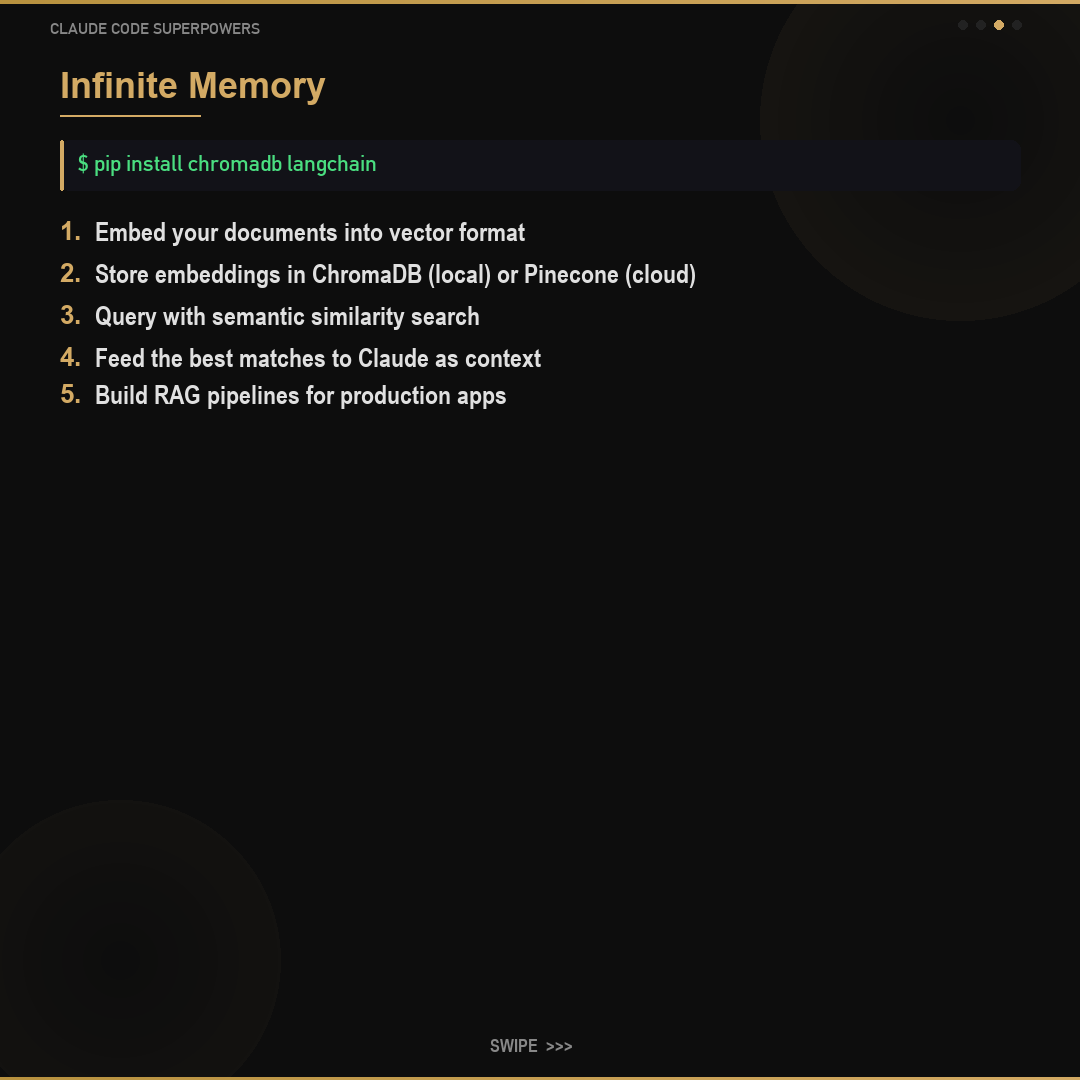
Install ChromaDB: pip install chromadb
Load your documents and split them into chunks
Store the chunks as vectors in the database
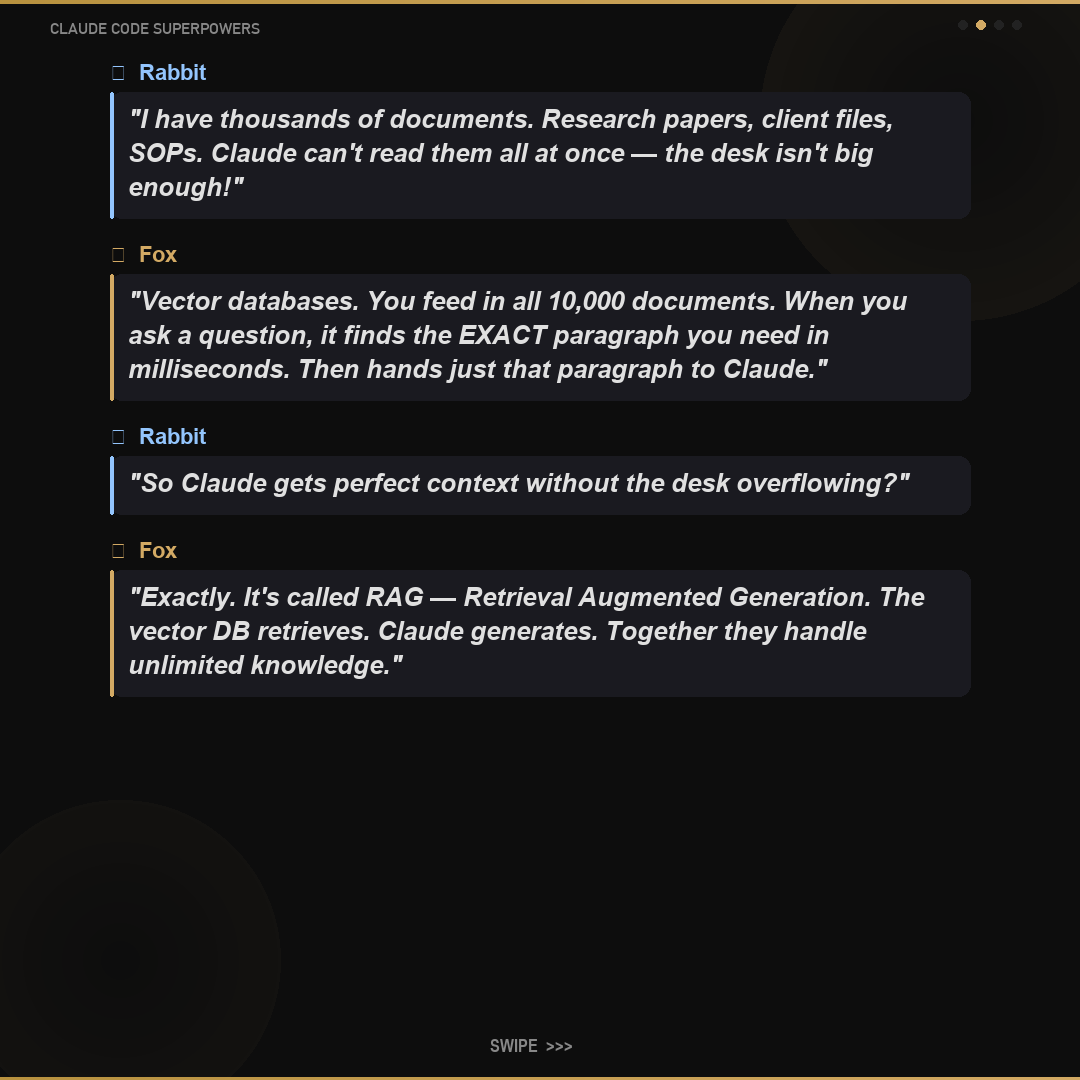
When you ask a question, the database finds the most relevant chunks
Feed those chunks to Claude as context - this is called RAG (Retrieval Augmented Generation)
Start with ChromaDB locally on your machine. It is free and simple. Move to Pinecone or Weaviate when you need cloud hosting and larger scale.
pip install chromadb langchain
🏭
God Tier350 XP45 min
Production Pipelines
Fox had a working prototype on his laptop.
🦊FOX & TURTLE STORY🐢
Fox had a working prototype on his laptop. "Great," Turtle said, "but what happens when your laptop closes?" They containerized the code, deployed it to the cloud, added monitoring, and set up auto-recovery. Now it runs 24/7, rain or shine, laptop open or closed.
Step by Step
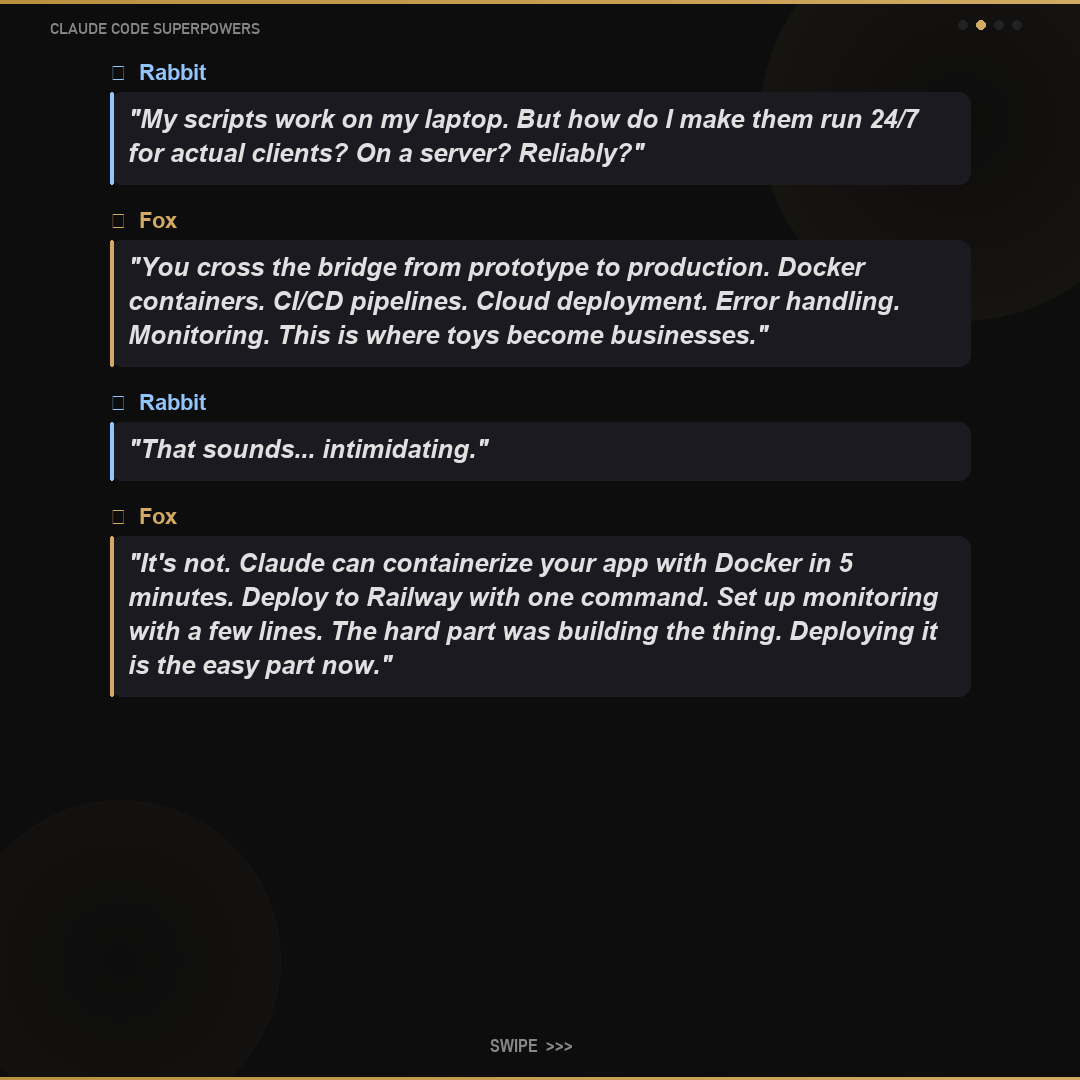
Package your project in a Docker container (a portable, self-contained environment)
Set up CI/CD with GitHub Actions (auto-deploy when you push code)
Deploy to Railway (easiest), Fly.io (more control), or AWS (enterprise)
Add error handling and automatic retries for when things go wrong
Set up monitoring and alerts so you know if something breaks
Add load balancing to handle multiple users at once
Railway is the fastest path from laptop to production - often just connecting your GitHub repo is enough. Use it to start. Move to AWS only when you need enterprise-scale control.
docker build -t my-pipeline .
💰
God Tier400 XP30 min
Selling AI Services
Fox had built incredible things.
🦊FOX & TURTLE STORY🐢
Fox had built incredible things. Turtle looked at him and said, "You know what businesses pay thousands of dollars for? Exactly what you just built in a few hours." Fox packaged his skills into a service, landed his first client, and realized: the skills were the product all along.
Step by Step
Identify automation problems businesses pay to solve
Build a portfolio of 3-5 case studies showing real results
Create clear service packages with transparent pricing
Use NEPQ (Neuro-Emotional Persuasion Questions) sales methodology
Deliver results that justify premium pricing ($2K-$10K+ per project)
Scale with templates and playbooks - each new project gets faster
Pick ONE niche and become the expert. "AI automation for real estate agents" beats "I do AI stuff" every time. Specialists charge 3-5x more than generalists.
claude "help me write a proposal for an AI automation service"
🔧
Advanced300 XP25 min
Custom Skill Development
Fox stopped using tools and started creating them.
🦊FOX & TURTLE STORY🐢
Fox stopped using tools and started creating them. He built skills that solved problems no one else had solved, shared them with the community, and became known as a master craftsman. "The apprentice uses tools," Turtle said. "The master creates them."
Step by Step
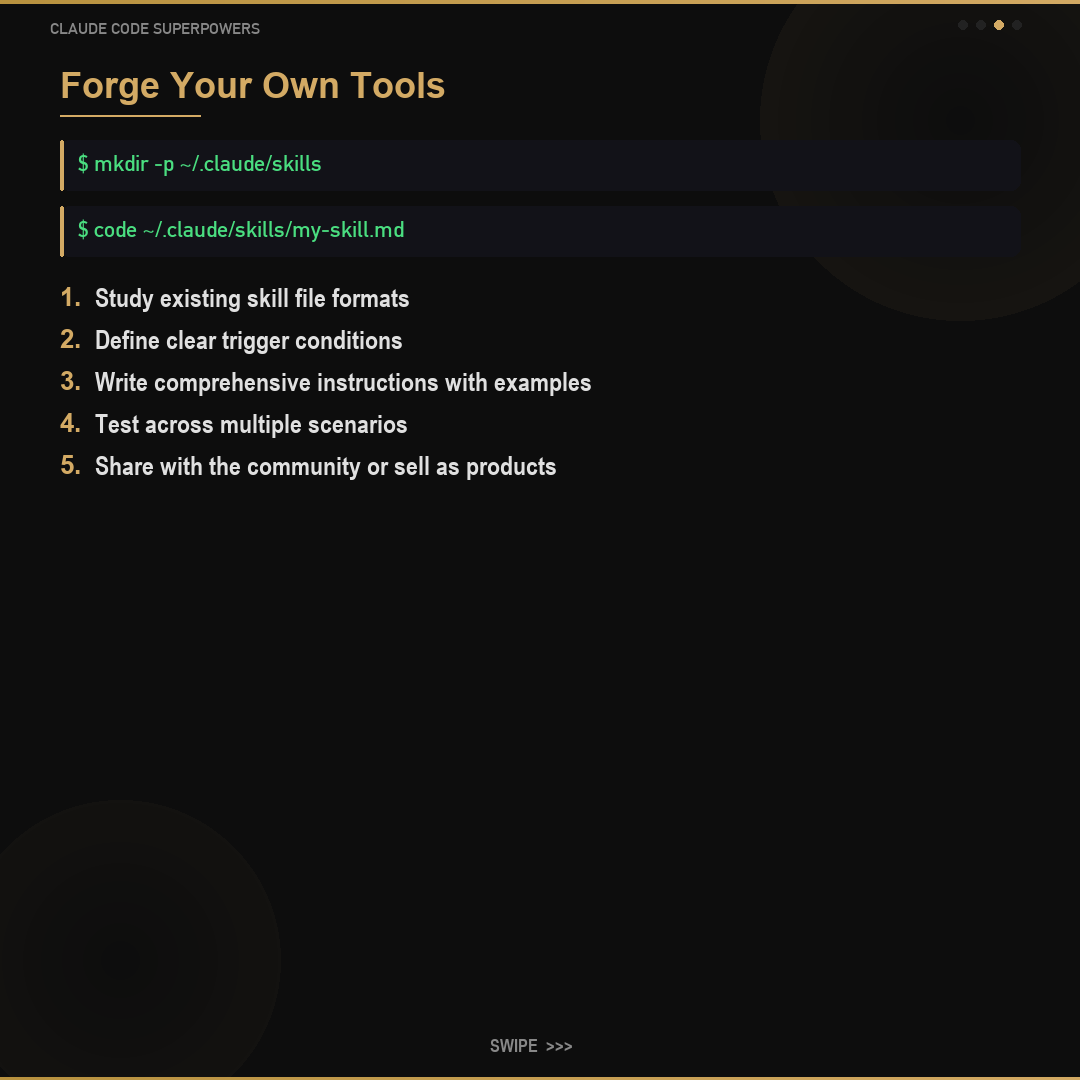
Study existing skill files to understand the format
Define clear trigger conditions: when should this skill activate?
Write comprehensive instructions that handle edge cases
Include examples of input/output so the skill knows what to do
Test thoroughly with different scenarios
Share your skills - the community grows when everyone contributes
The best skills solve one problem extremely well. Avoid "kitchen sink" skills that try to do everything. A focused skill that nails one task is worth more than a swiss army knife that does everything poorly.
A full cybersecurity proposal generated in 45 minutes instead of 3 days. Claude researched the client, analyzed their tech stack, identified vulnerabilities, wrote the executive summary, technical assessment, remediation plan, and pricing. The client signed within 24 hours. Total billable value: $18,000.
Case Study #2
The Peptide Bible
A 200-page comprehensive peptide research guide created in one weekend. Claude processed 50+ research papers, organized them by category, wrote plain-English summaries, added protocols, and formatted the entire document. What would take a research team weeks was done by one person with Claude Code.
Case Study #3
10 Videos Overnight
Using the video pipeline from Module 3: Claude wrote 10 scripts, generated voiceovers with ElevenLabs, created images with Nano Banana, assembled everything with moviepy, and added auto-generated captions. By morning, 10 polished videos were ready for upload. The client thought a team of 5 produced them.
Case Study #4
The 24/7 Employee
A Claude Remote Manager setup running 3 agents: one monitoring client inboxes and flagging urgent emails, one generating daily social media content, and one running nightly data backups and reports. Total cost: under $100/month. Equivalent human labor cost: $4,000+/month. It never sleeps, never calls in sick, never misses a deadline.
10
Lock It Down
Click play to listen
0:000:00
What NOT To Do
Password Reuse
Never use the same password across services. One breach compromises everything.
API Key Leaks
Never commit API keys to git repos. Never paste them in public channels or screenshots.
Phishing Links
Never click links from unknown senders. Verify URLs before entering credentials.
Skipping Updates
Never delay OS and software updates. Patches fix known security holes.
Public WiFi
Never access sensitive accounts on public WiFi without a VPN.
Admin Access
Never give admin/root access to scripts that do not need it. Less access = less risk.
What TO Do
Enable 2FA Everywhere
Use authenticator apps (not SMS) for two-factor authentication on all important accounts.
Password Manager
Use 1Password, Bitwarden, or similar. Generate unique 20+ character passwords for every service.
.env Security
Store all secrets in .env files. Add .env to .gitignore. Never commit secrets to version control.
Mac Lockdown
Enable FileVault, set screen lock to 1 minute, disable remote login unless needed.
Regular Backups
Use Time Machine + cloud backup. Test your restore process quarterly.
Restricted API Keys
Scope API keys to minimum required permissions. Rotate keys every 90 days.
Breach Monitoring
Use haveibeenpwned.com alerts. Monitor your emails and domains for leaks.
Telegram Bot Security
Restrict your bot to your chat ID only. Never share bot tokens. Rotate if compromised.
Emergency Response Protocol
Disconnect: Take the compromised system offline immediately
Assess: Determine what was accessed - API keys, databases, personal data
Rotate: Change all API keys, passwords, and tokens that may be compromised
Audit: Check logs for unauthorized access patterns
Notify: Inform affected parties - clients, team members, service providers
Patch: Fix the vulnerability that was exploited
Document: Record the incident, timeline, and lessons learned
Harden: Implement additional security measures to prevent recurrence